Creating PM Pending Change Orders
Objective
This SOP outlines the steps to create a pending change order in the project management module for team members to follow easily.
Key Steps
1. Access Project Management Module 0:00

Navigate to the Project Management Module.
Click on Programs.
Locate and double-click on PM Pending Change Orders.
2. Select Job for Change Order 0:16

Choose the job for which you want to create the pending change order.
3. Lookup Projects 0:32

Press F4 to open the project lookup.
Select the desired job from the list.
4. Choose Change Order Type 0:57

Click on Info and press F4 to select the pending change order type.
5. Name the Change Order 1:11
Enter a name for the pending change order (e.g., PC01, PC03).
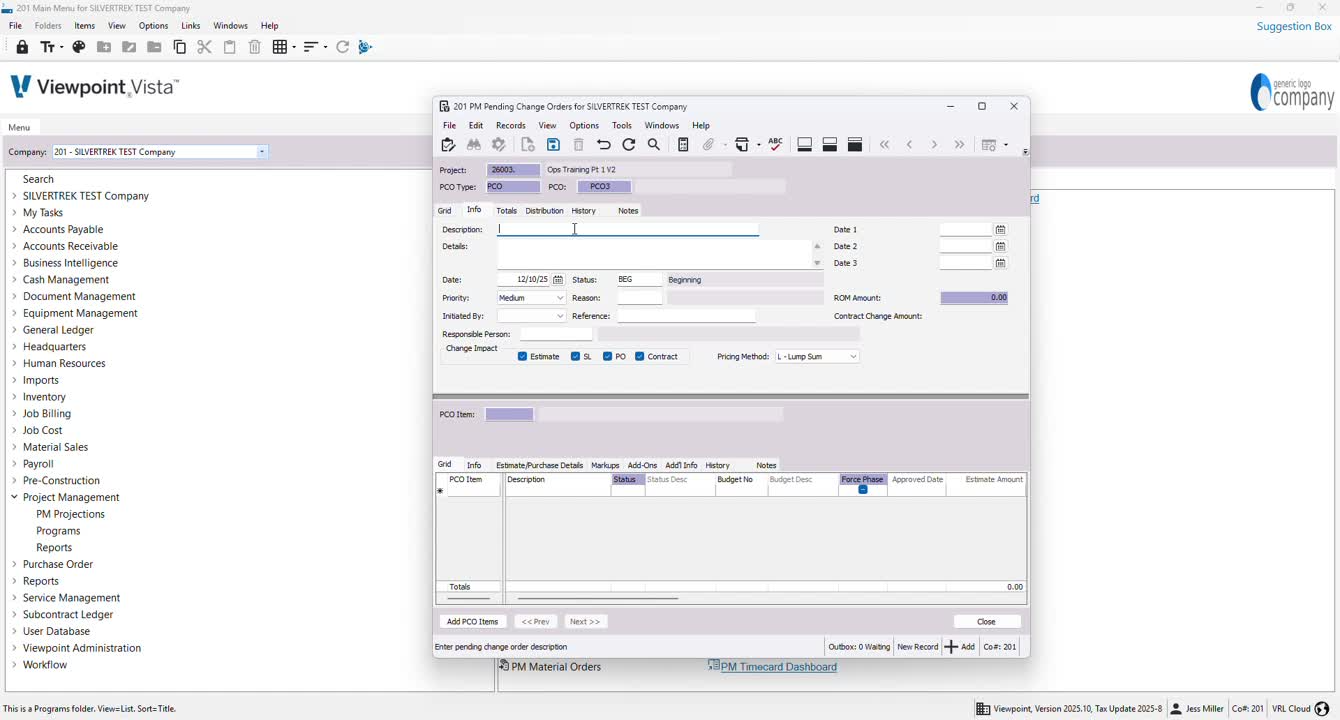
6. Add Description 1:30

Provide a description for the change order, including any relevant details.
7. Set Change Order Date 1:37
Specify the date for the change order.
8. Update Status 1:45

Update the status using F4 based on your setup (e.g., Beginning, Bidding, Course of Construction).
9. Set Priority and Reason 1:58

Optionally set the priority and reason for the change order (default is usually sufficient).
10. Add Reference Number 2:07

If applicable, enter a reference number or P.O. for approval.
11. Assign Responsible Person 2:16

Designate a responsible person for tracking purposes.
12. Define Change Impact 2:27

Specify what the change order will impact (leave checked if unsure).
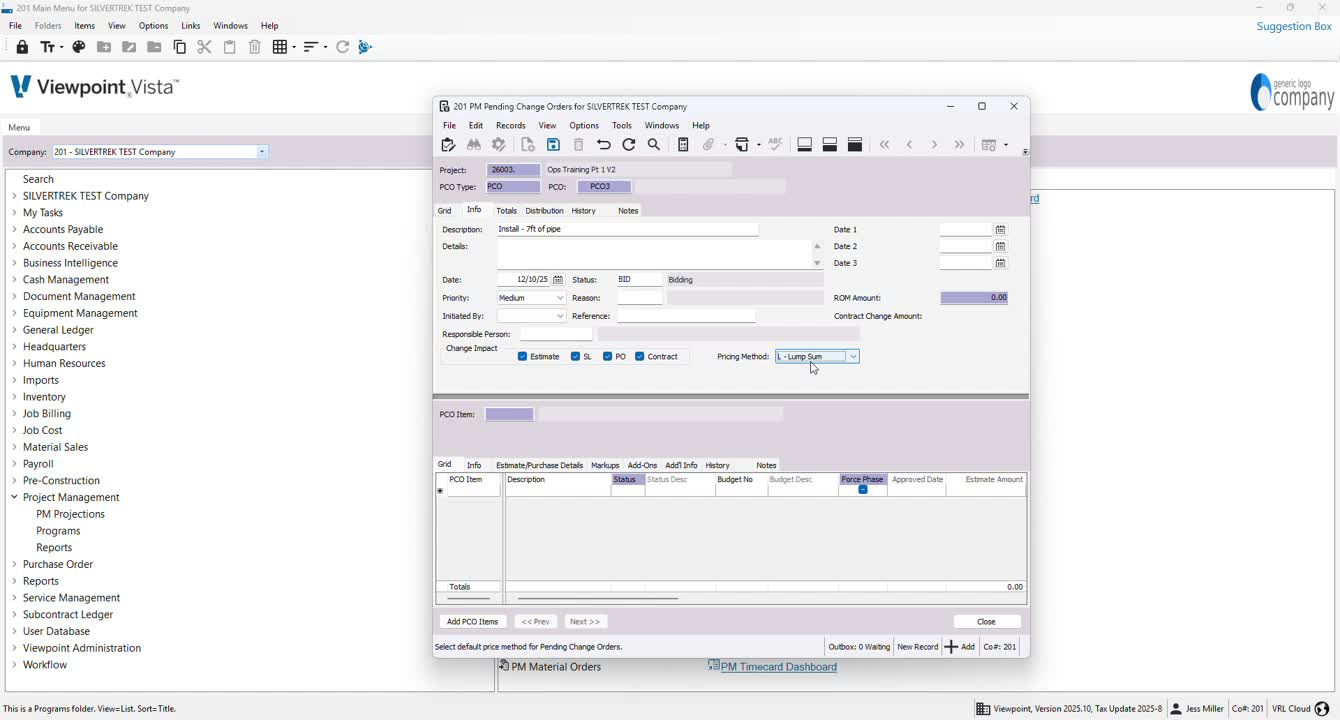
13. Choose Pricing Method 2:53

Select the pricing method: Lump Sum or Unit Price (ensure consistency with other entries).
14. Enter Change Order Amount 2:27
Input the change order amount (e.g., $5,000).
15. Add PCO Item 2:53

Click N or + for a new PCO item, which will auto-fill the description.
16. Attach Budget Number (if applicable) 3:06

If you have a budget number, attach it here; otherwise, leave it blank.
17. Attach Contract Item (if applicable) 3:14
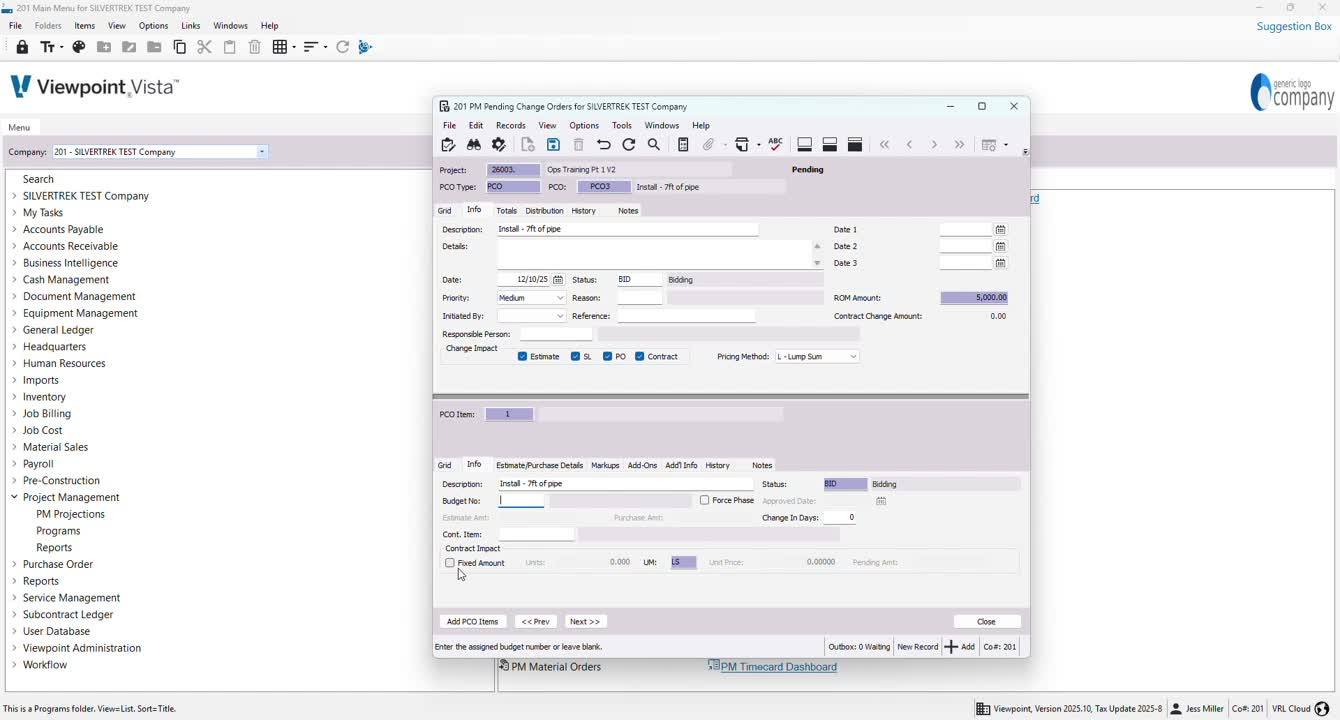
If a contract item exists, attach it; otherwise, leave it blank.
18. Set Fixed Amount 3:26

If using a lump sum, set the fixed amount to match the change order amount.
19. Save and Close 3:47

Ensure all information is saved before closing the window.
Cautionary Notes
Ensure all entries are consistent with existing data in Vista to avoid connectivity issues.
Double-check the change order amount and pricing method before saving.
Tips for Efficiency
Familiarize yourself with the F4 lookup feature to quickly find jobs and types.
Use templates for common change orders to save time on naming and descriptions.
Link to Loom
https://loom.com/share/ce28c94f72ea45cca4ba6f1df92cf9bb
Was this article helpful?
That’s Great!
Thank you for your feedback
Sorry! We couldn't be helpful
Thank you for your feedback
Feedback sent
We appreciate your effort and will try to fix the article