SOP: Configure Data Security for a Data Type and Grant Company Access
Objective
This SOP explains how to enable data security for a data type, secure the related tables, regenerate views, and grant access to specific companies or security groups. Follow these steps to restrict and then selectively allow access to protected data such as AP Vendors.
Key Steps
1. Create or Select the Data Security Group 0:00
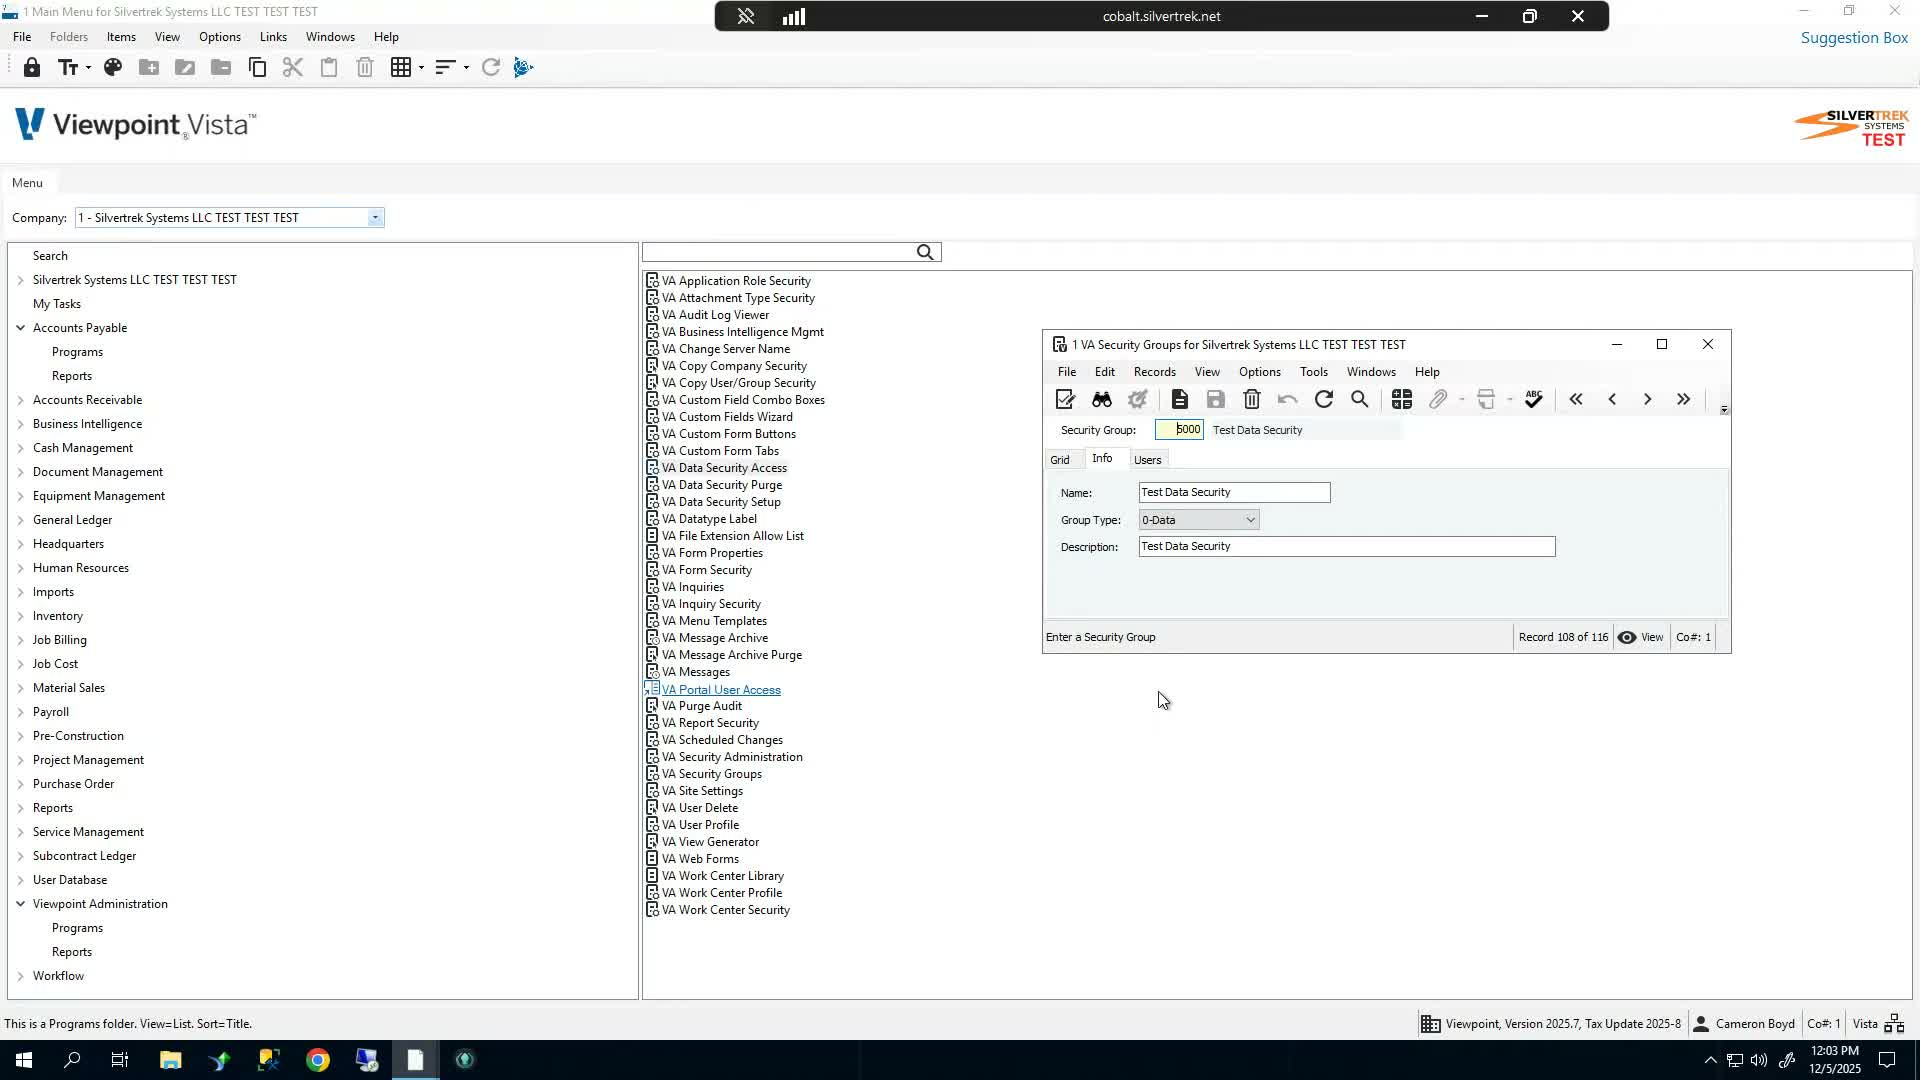
Open the existing security group or create a new one for the data security setup.
In this example, use Security Group 5000.
Confirm the group is intended for the module or data type you want to protect (for example, AP).
Use a clear naming convention so the group is easy to identify later.
2. Enable Data Security for the Data Type 0:16
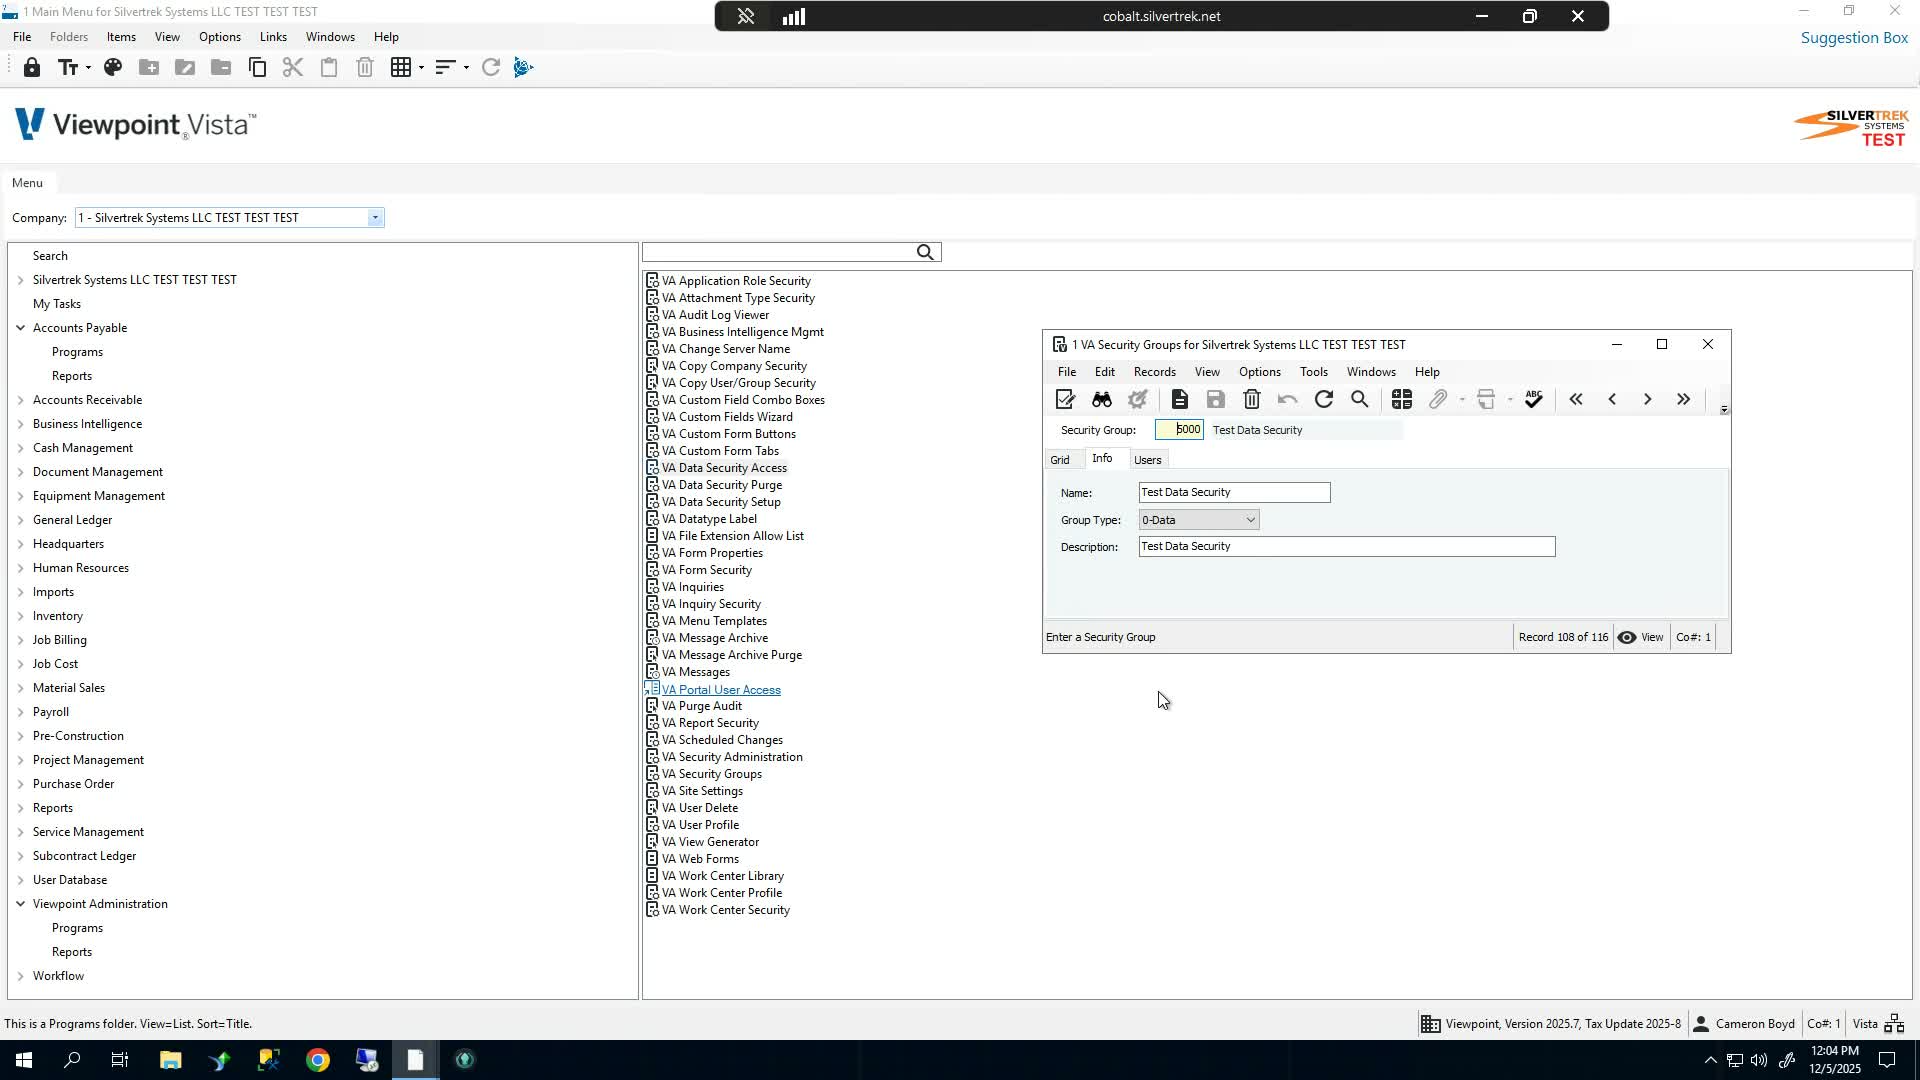
Go to VA Data Security Setup.
Locate the Security Required option for the data type you want to protect.
Check the Security Required box to turn on data security.
Save your changes to apply the security setting.
3. Review and Select Secure Tables 0:53
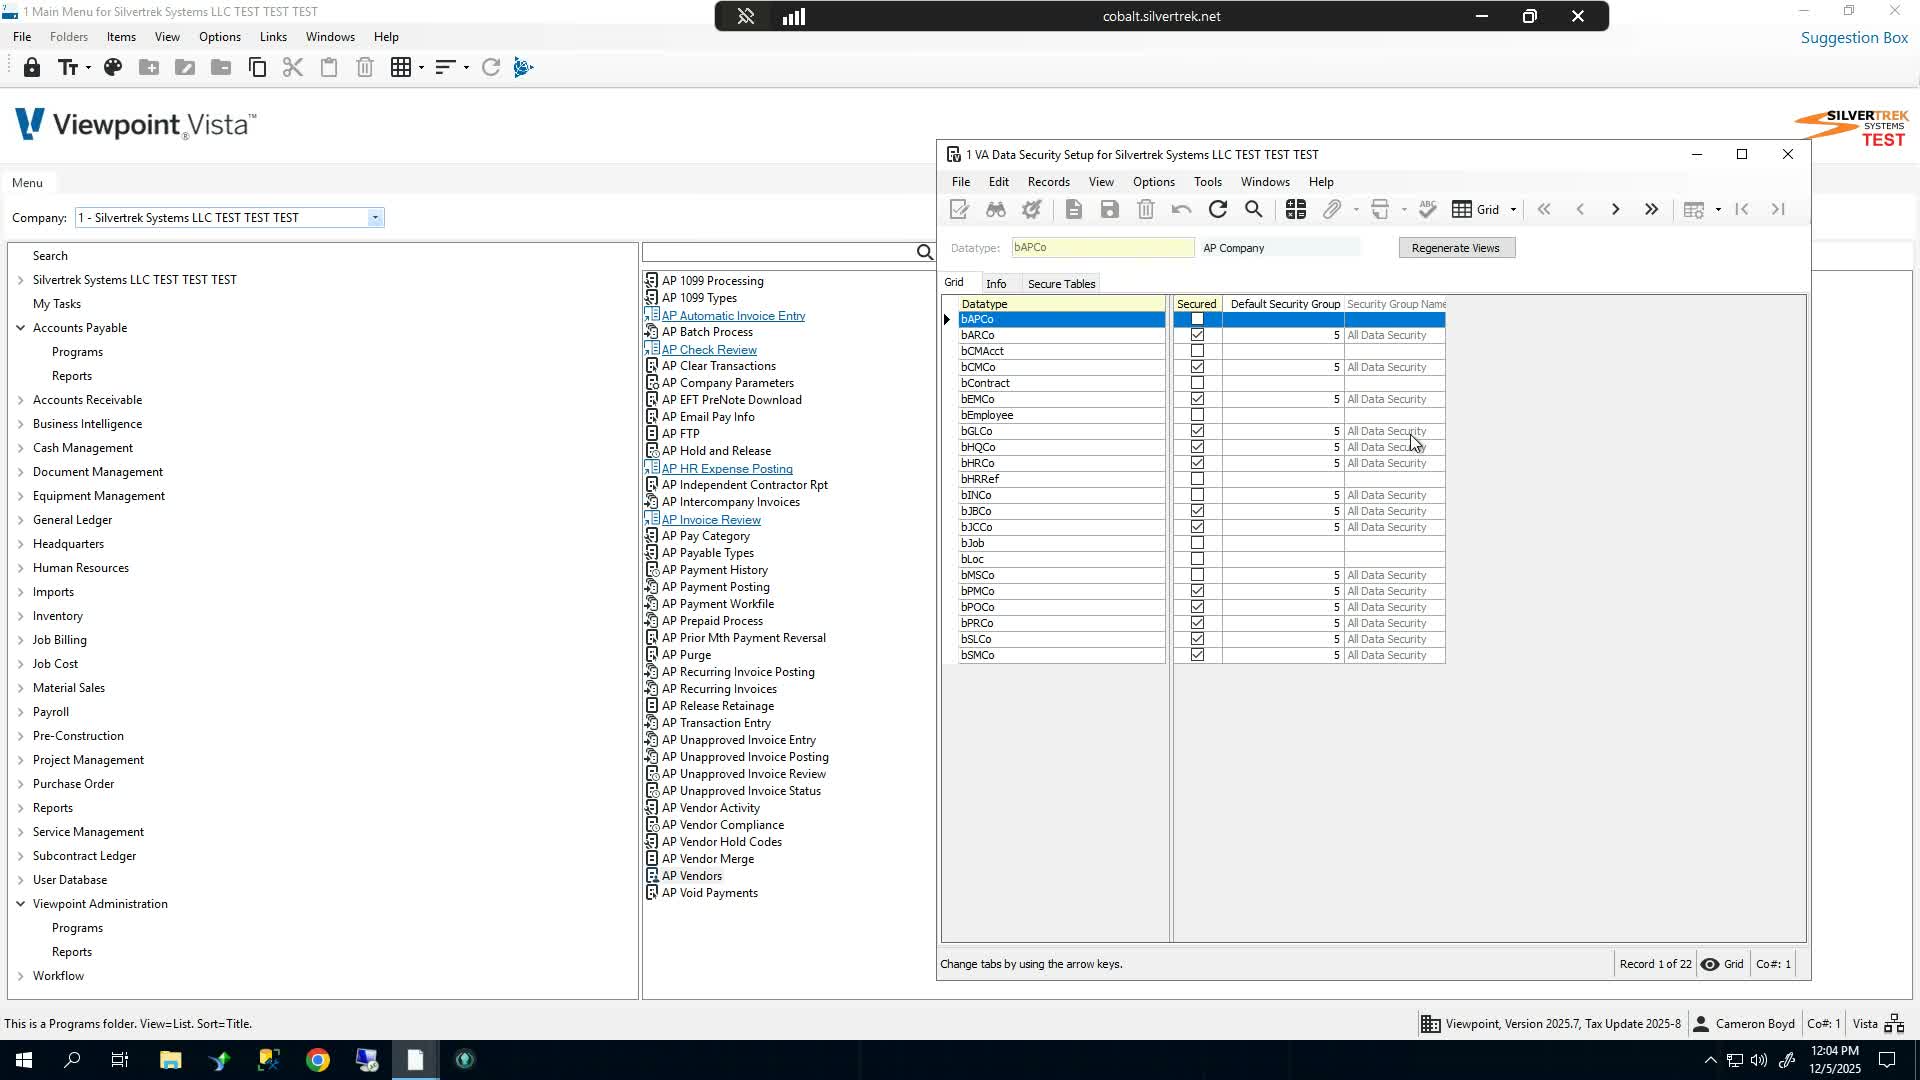
Open the Secure Tables tab.
Review the list of tables associated with the data type.
Confirm which tables should be protected by checking the Apply Security box.
Leave the default selections in place unless your business process requires exceptions.
Make sure all required tables are selected before continuing.
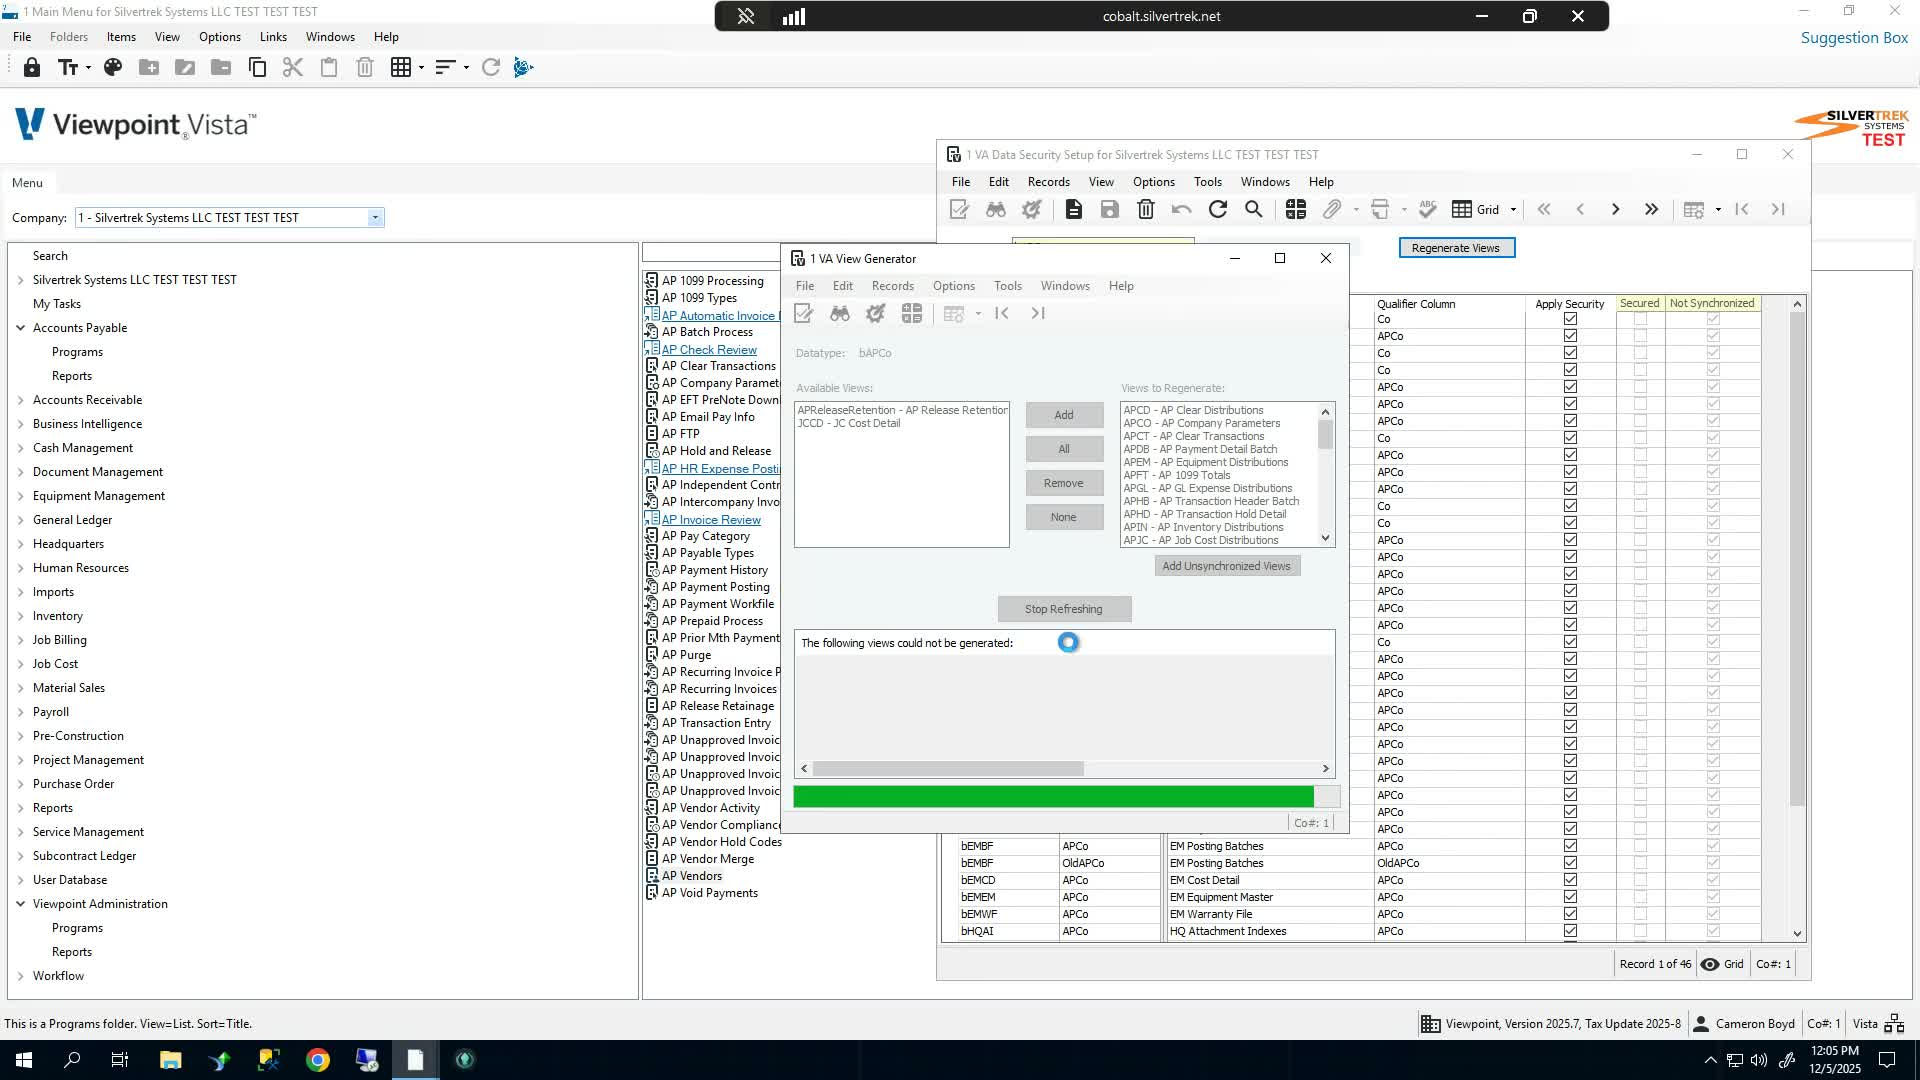
4. Save the Record and Regenerate Views 1:20
Click the Record button to save the security configuration.
Select Regenerate Views to update the system with the new security rules.
In the window that opens, click Add Unsynchronized Views.
Then click Regenerate Views.
Wait for the process to complete before moving on.
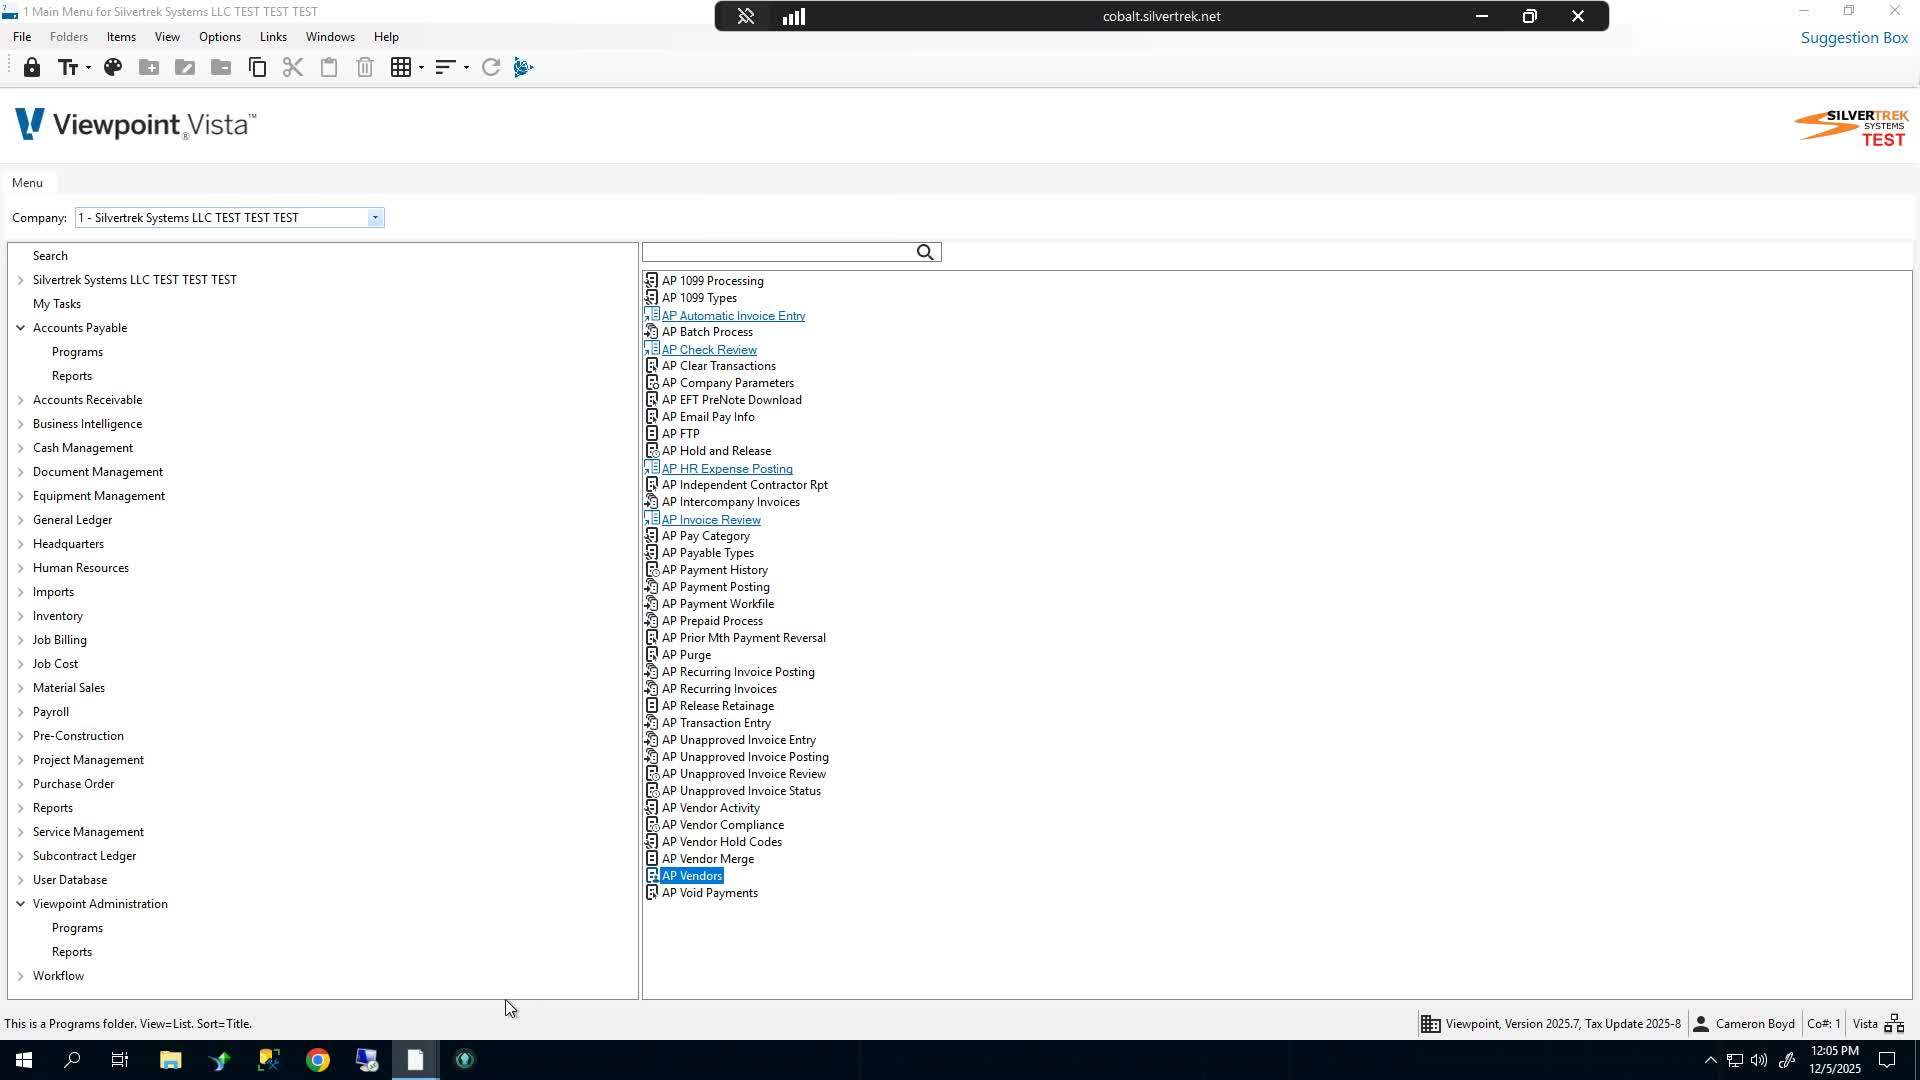
5. Verify That Access Is Restricted 1:39
Navigate to the protected area, such as AP > Vendors.
Attempt to open the screen or data set.
Confirm that access is blocked if no permissions have been granted.
Use this test to verify that security is working as expected.
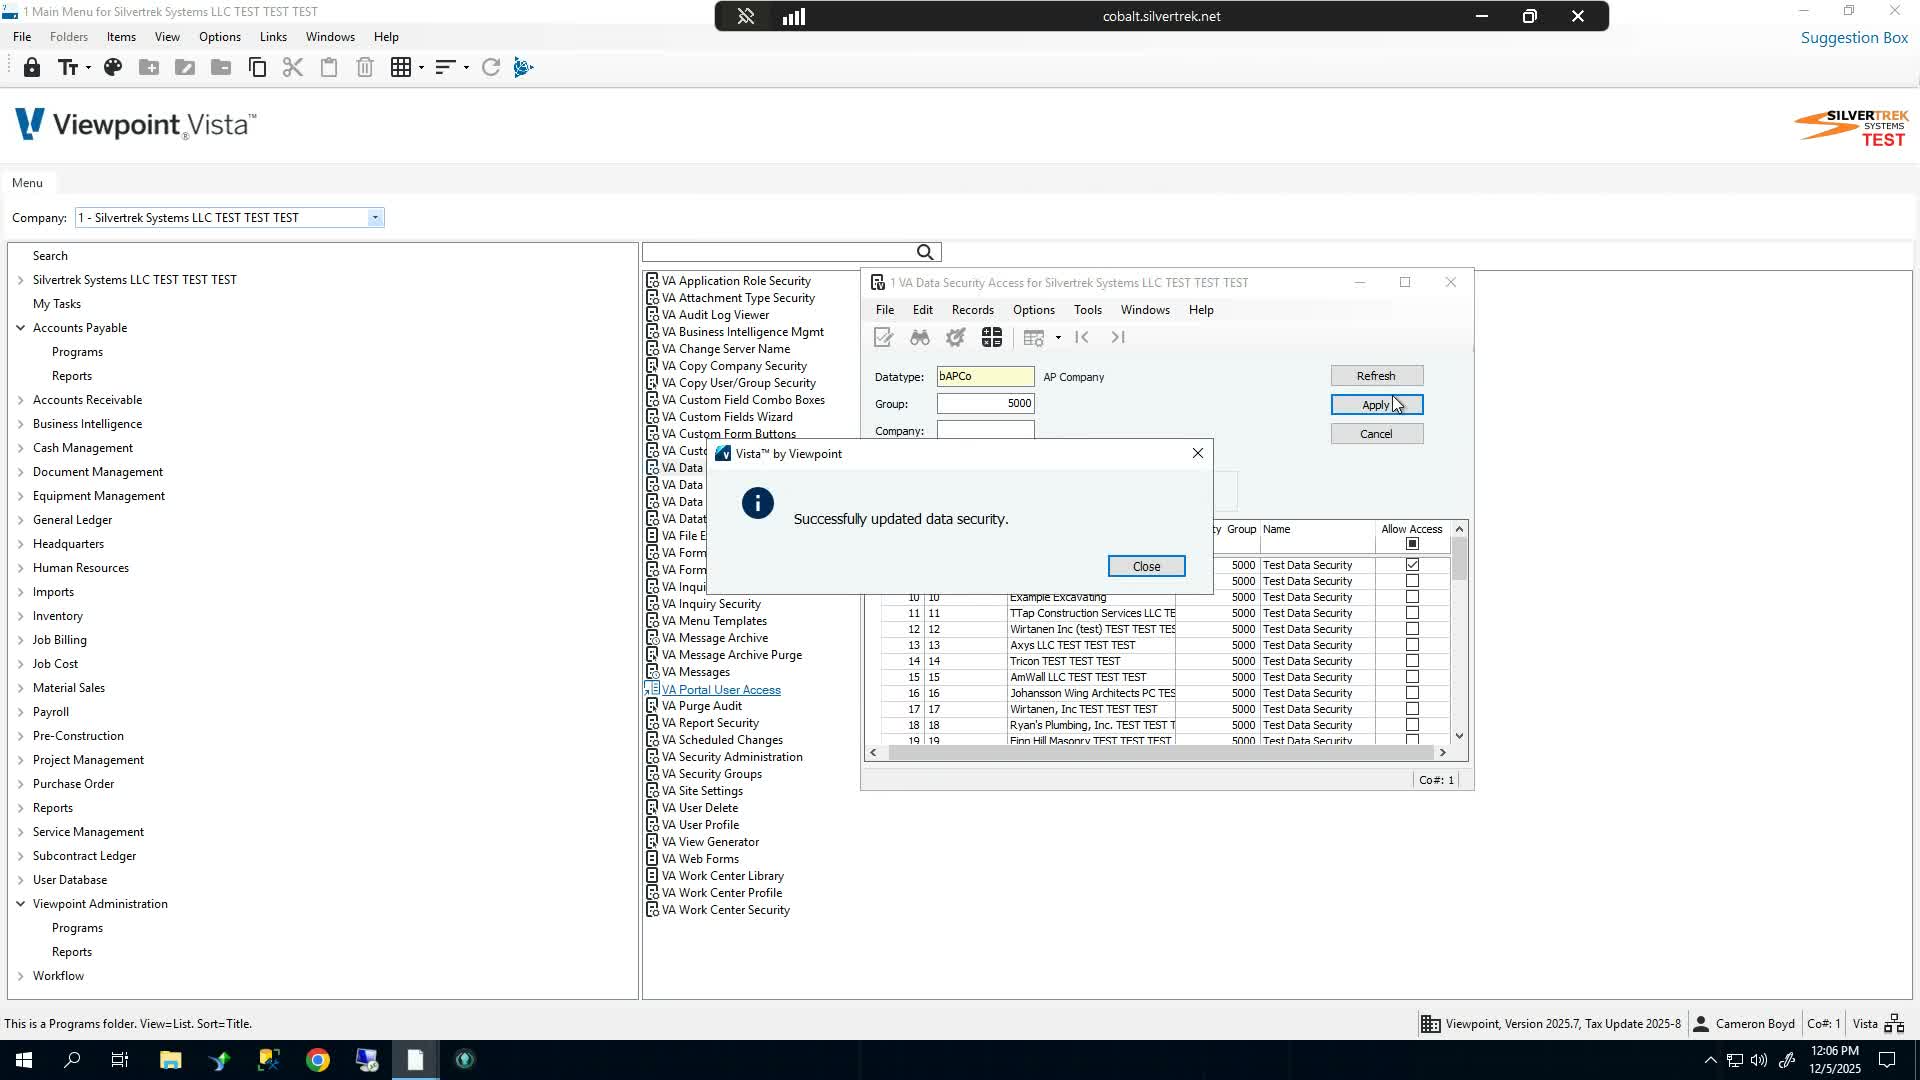
6. Grant Access to a Specific Data Set or Company 1:57
Go to the relevant VA Data Set.
Open the Access area and choose Apply Security.
Select the correct data type and security group (for example, group 5000).
Click Refresh to load the available companies or access options.
Choose the company to allow, such as Company 1.
Click Apply to save the access rule.
7. Confirm Access Has Been Restored 2:23
Return to the protected screen, such as AP > Vendors.
Reopen the data to confirm access is now allowed.
Verify that the security group can access only the approved company or data set.
Document the final configuration for future reference.
Cautionary Notes
Do not regenerate views until all security selections are complete.
If access is still blocked after applying permissions, confirm the correct security group, data type, and company were selected.
Changes may affect user access immediately, so validate in a test environment when possible.
Default table security settings may already be enabled; review them carefully before saving.
Tips for Efficiency
Use a consistent naming convention for security groups to simplify maintenance.
Verify the security requirement and table selections in one pass before saving to avoid repeating the regeneration process.
Test access immediately after configuration so issues can be corrected while the setup is fresh.
Keep a record of which companies are allowed for each security group to speed up future audits and updates.
Link to Loom
Was this article helpful?
That’s Great!
Thank you for your feedback
Sorry! We couldn't be helpful
Thank you for your feedback
Feedback sent
We appreciate your effort and will try to fix the article