This guide explains how to install Aatrix on a local workstation for the first time or reinstall it after removal or repair. Aatrix must be installed and properly configured for Vista regulatory reporting and eFiling functions (e.g., W-2, 1099, ACA).
Step 1: Identify the Need for Installation
- If you receive the error message: “Unable to find Aatrix”
- This means Aatrix is not installed or Vista cannot locate the installation.
- You will need to download and install Aatrix on your local machine.
Step 2: Download the Aatrix Installation File
There are two ways to obtain the installer:
Option 1 – From the Error Message
When the error appears, look for the link labeled:
AatrixVistaTaxForms.exe
Click the link to download the installation file.
Option 2 – From the Aatrix Partner Website
Open your browser and navigate to:
https://partner.aatrix.com/Vista
Download the AatrixVistaTaxForms.exe installation file from this page.

Step 3: Locate the Downloaded File
After the download completes, click “Show in folder” from your browser,
or manually navigate to your Downloads folder.
Locate the file: AatrixVistaTaxForms.exe

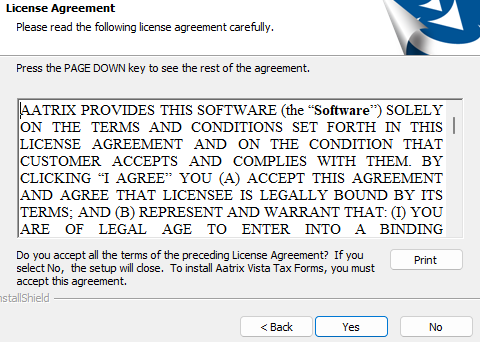
Step 4: Install Aatrix
Double-click AatrixVistaTaxForms.exe to start the installation.
Follow the on-screen prompts to complete the installation process.


Once installed, Aatrix will be located by default in:
C:\Program Files (x86)\Aatrix Software\Aatrix Forms\AatrixVistaTaxForms\

Step 5: Configure Aatrix Path in Vista
After installation, Vista must be told where Aatrix is installed.
You can configure this from the error message or via VA Site Settings.
Option 1 – From the Error Window
When prompted, browse to the Aatrix installation path:
C:\Program Files (x86)\Aatrix Software\Aatrix Forms\AatrixVistaTaxForms\
Option 2 – From VA Site Settings
Go to Viewpoint Administration → VA Site Settings.
Open the form and select the Add’l Settings tab.
Enter the following paths:
Aatrix Installation Location (EXE Path):
C:\Program Files (x86)\Aatrix Software\Aatrix Forms\AatrixVistaTaxForms
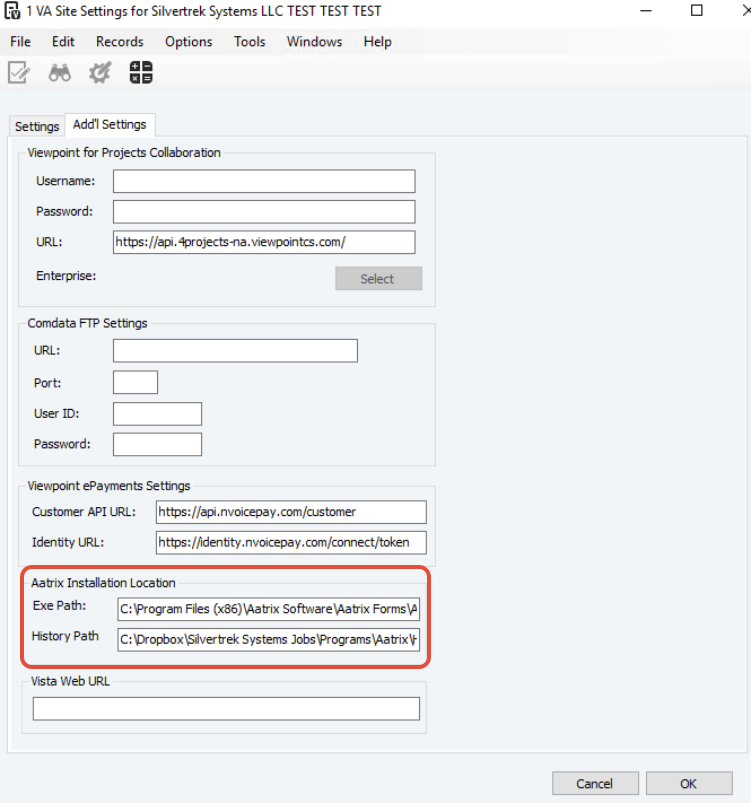
Aatrix History Path (examples):
UNC path: \\server\AatrixHistory
Mapped drive: G:\Aatrix History
Note: If you installed Aatrix on a network location, use the full UNC or mapped drive path:
\\servername\Aatrix Software\Aatrix Forms\AatrixVistaTaxForms\
or
T:\Aatrix Software\Aatrix Forms\AatrixVistaTaxForms\
Step 6: Launch Aatrix from Vista
Open Vista and navigate to the program that launches Aatrix, such as:
PR → Aatrix Report Selection
Select a report to launch Aatrix.
If configured correctly, Aatrix will open.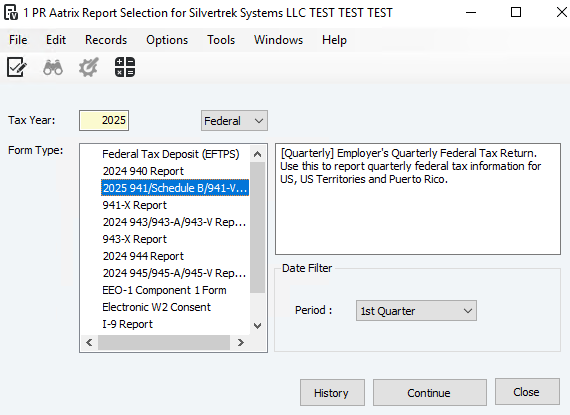
Step 7: Set Up Aatrix Histories
When Aatrix opens for the first time:
On the opening Aatrix window, click the “History” button (bottom of the screen).
A blank screen will appear — this is expected because no filings exist yet.
In the background, Aatrix automatically creates a local folder for your filing histories.
Step 8: Verify the Aatrix History Folder
Aatrix will automatically create a hidden folder on your local machine at:
C:\Users\<USERNAME>\AppData\Local\Aatrix Software\Aatrix Forms\VBV
Tip: You may need to enable “Show hidden items” in Windows File Explorer to view the folder.
Within the VBV folder, Aatrix will create a subfolder for your company’s EIN, containing:
- Archive – Past completed filings
- Drafts – Saved, in-progress filings
- Histories – Completed and submitted filings
Example: C:\Users\JohnDoe\AppData\Local\Aatrix Software\Aatrix Forms\VBV\12-3456789\
Step 9: Confirm Configuration
Relaunch Aatrix through PR Aatrix Report Selection.
Verify that the program opens without errors.
Confirm that the History button and folder structure are active.
At this point, your Aatrix installation and configuration are complete, and you are ready to begin printing and eFiling reports through Vista.
Troubleshooting Tips
- If Aatrix does not launch, verify that the installation paths match those entered in VA Site Settings.
- Ensure file permissions allow your user account to access the installation and history folders.
Was this article helpful?
That’s Great!
Thank you for your feedback
Sorry! We couldn't be helpful
Thank you for your feedback
Feedback sent
We appreciate your effort and will try to fix the article