Standard Operating Procedure for Project Management Projections
Objective
This SOP outlines the steps to create and manage projections within the project management module, ensuring accurate tracking and reporting of project costs and revenues.
Key Steps
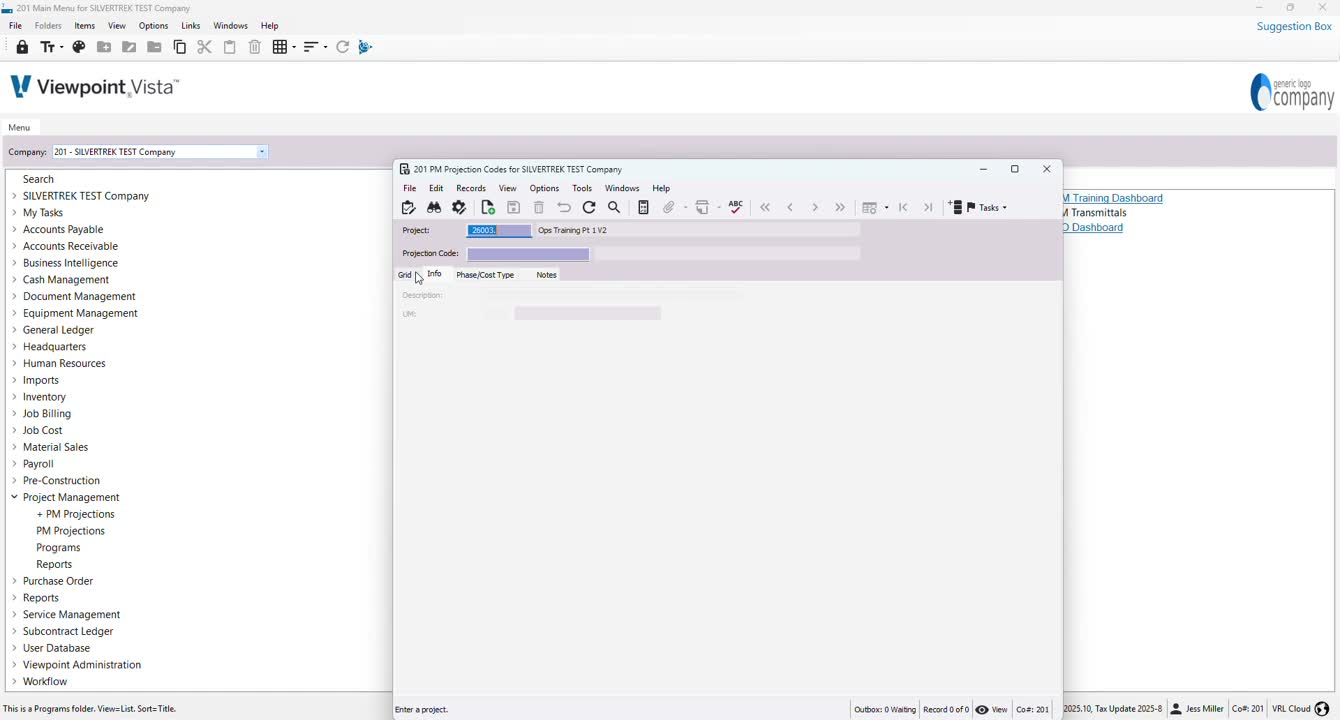
1. Initialize PM Projection Codes 0:00
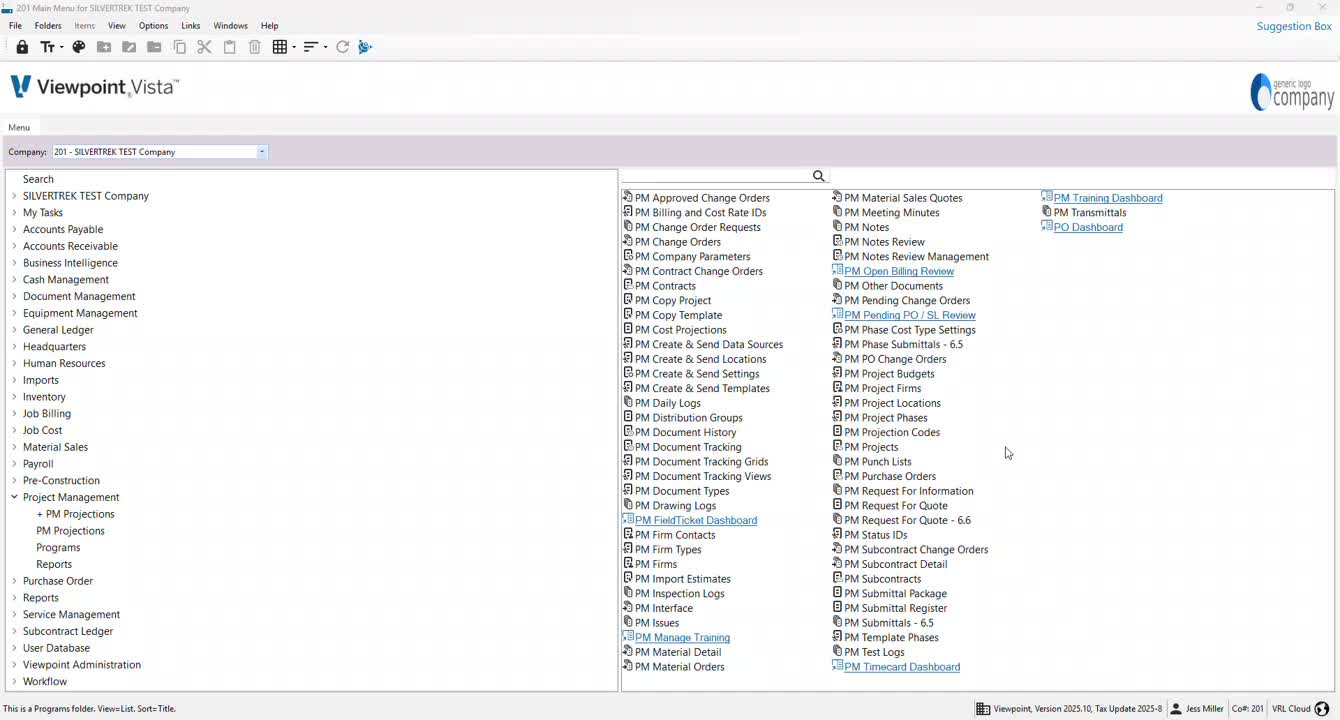
Access the PM projection codes section.
Ensure that the projection codes are initialized for the project.
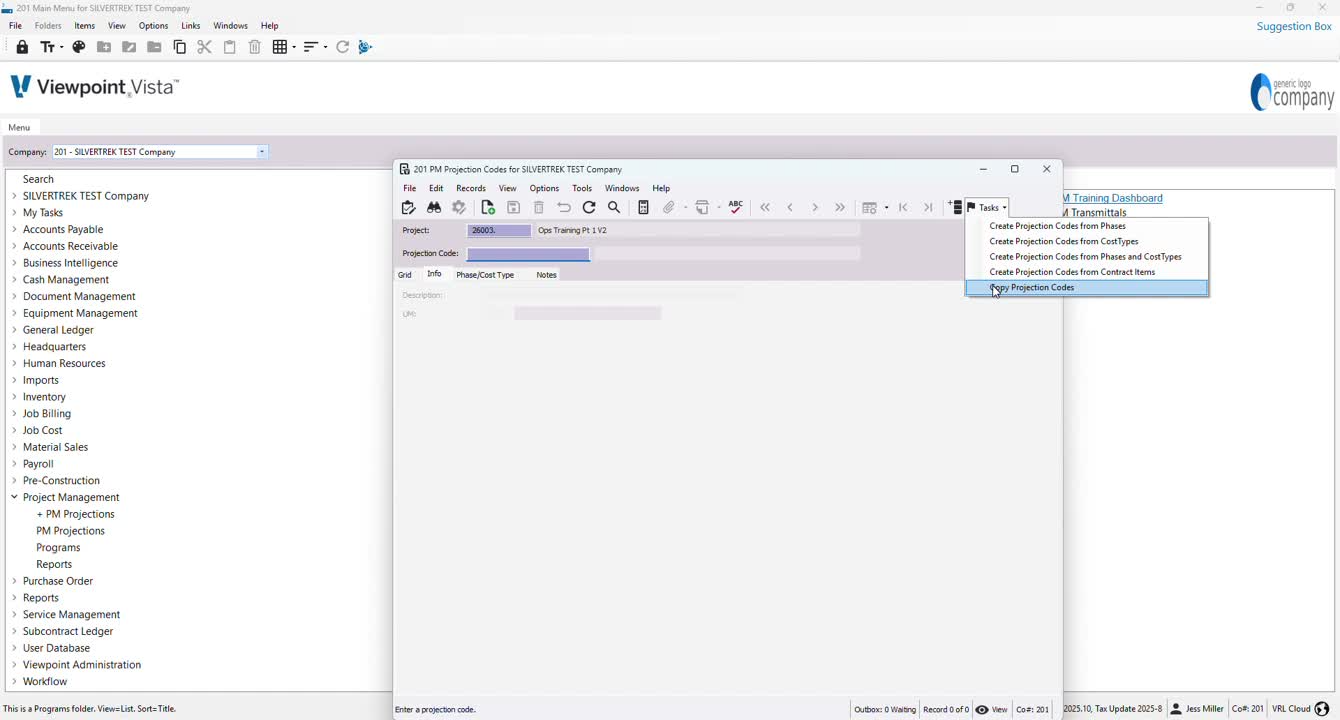
2. Create Projection Codes 0:21
Navigate to the 'tests' or 'tasks' section.
Choose one of the following methods to create projection codes:
From phases
From cost types
From phases and cost types
From contract items
Copy projection codes from another source.
In this case, select 'phases and cost types'.
3. Process Projection Codes 0:40
Click 'start' to process the projection codes.
Confirm that all codes have processed successfully (e.g., 24 of 24).
4. Access PM Cost Projections 0:49

Go to the PM cost projections section.
Set the projection date and press F4 to select the product.
5. Configure Projection Settings 1:20

Choose the appropriate setting for cost projections:
Never
Always
Only when actual and committed costs exceed
When it exceeds this, keep it as plugged.
Typically, select 'never' for this setting.
6. Initialize the Worksheet 1:37

Choose to initialize the worksheet with:
Detailed projections with values
Detailed projections without values
None.
Select 'never' and 'none', then hit 'initialize'.
7. Enter Projected Final Costs 2:00

Expand the view to see all details.
Enter projected final costs as needed.
Ensure that the 'plugged' option is unchecked if you want to override values.
8. Revenue Projections (if applicable) 2:37

If needed, click to enter revenue projections in the same manner as cost projections.
9. Submit Projections 2:59
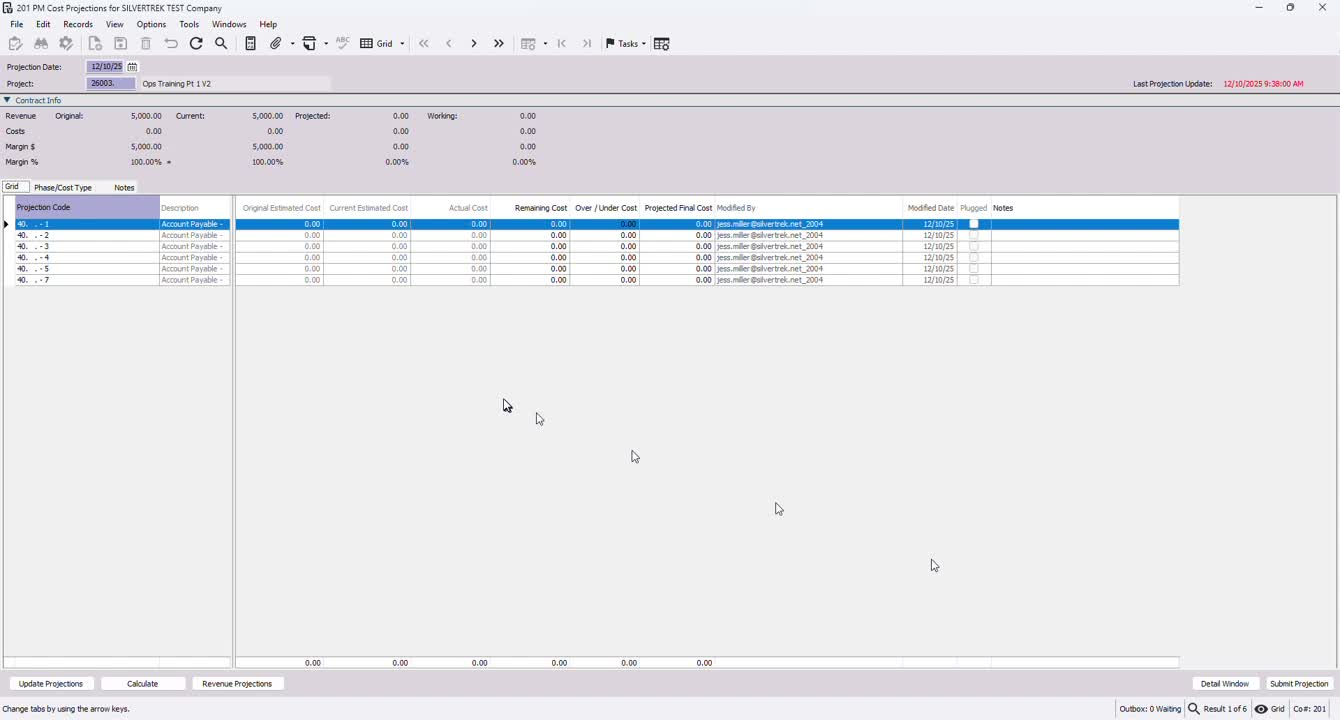
Once all projections are entered, submit the projection.
Ensure that reports pulled reflect the date of the projection.
10. Create or Edit Projection Layout 3:10

Access the projection layout section.
Use 'add' to create a new layout or 'edit' to modify an existing one.
11. Configure Layout Settings 3:20

Set the layout as 'standard' and choose whether to allow other users to edit.
Select specific colors for columns if desired.
12. Finalize Layout 3:56
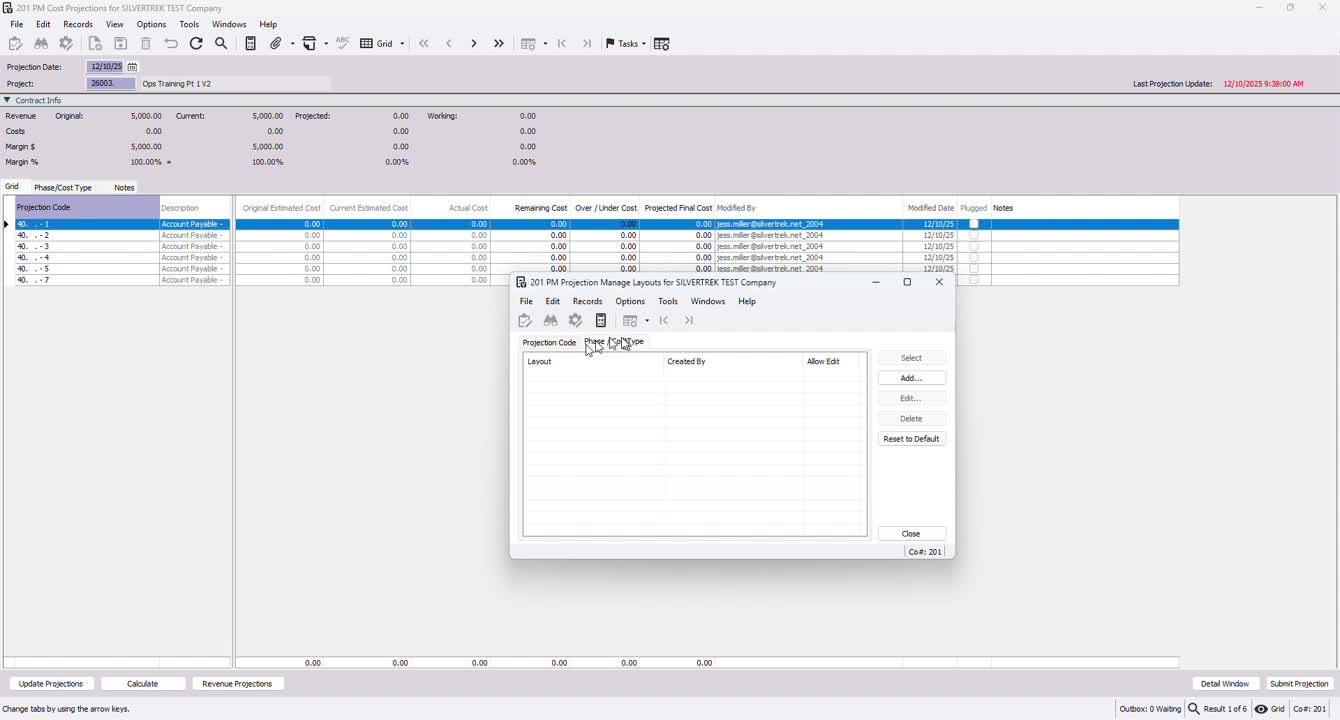
Once configured, select the layout and close it to save your settings.
Cautionary Notes
Ensure that all projection codes are initialized before entering any data.
Double-check the settings for cost projections to avoid unintentional overrides.
Tips for Efficiency
Familiarize yourself with the different methods of creating projection codes to save time.
Regularly review and update your projection layouts to maintain consistency across projects.
Link to Loom
https://loom.com/share/5dcbf60afd0a41c6a8233f72f8be1810
Was this article helpful?
That’s Great!
Thank you for your feedback
Sorry! We couldn't be helpful
Thank you for your feedback
Feedback sent
We appreciate your effort and will try to fix the article