SOP: Create and Configure HQ Reviewers and Reviewer Groups
Objective
This SOP explains how to create an HQ reviewer, assign users to that reviewer, and optionally create a reviewer group for invoice, timesheet, or job billing approvals. It is designed to help a team member set up reviewer access and approval routing correctly in the HQ system.
Key Steps
1. Navigate to the HQ Reviewers setup area 0:01
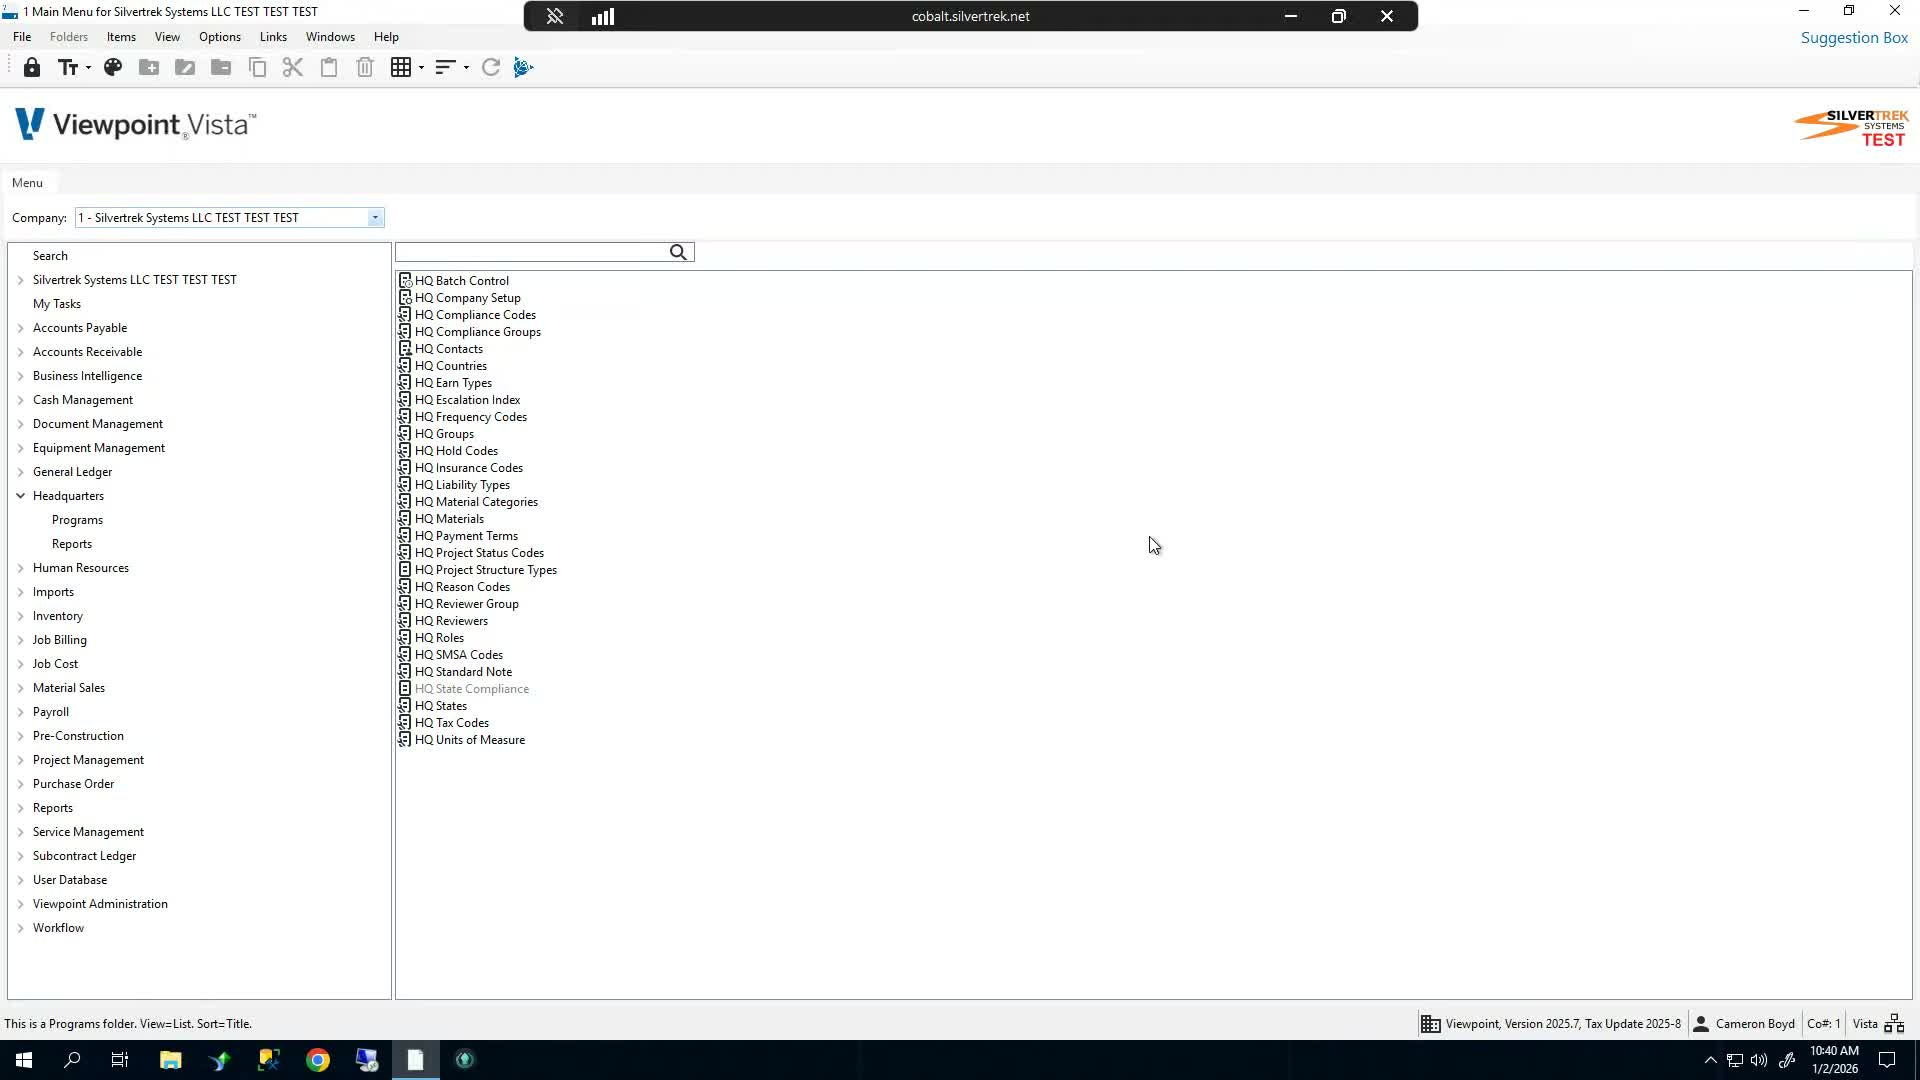
Go to Headquarters.
Open Programs.
Select HQ Reviewers to access the reviewer setup window.
2. Create a new HQ reviewer 0:12
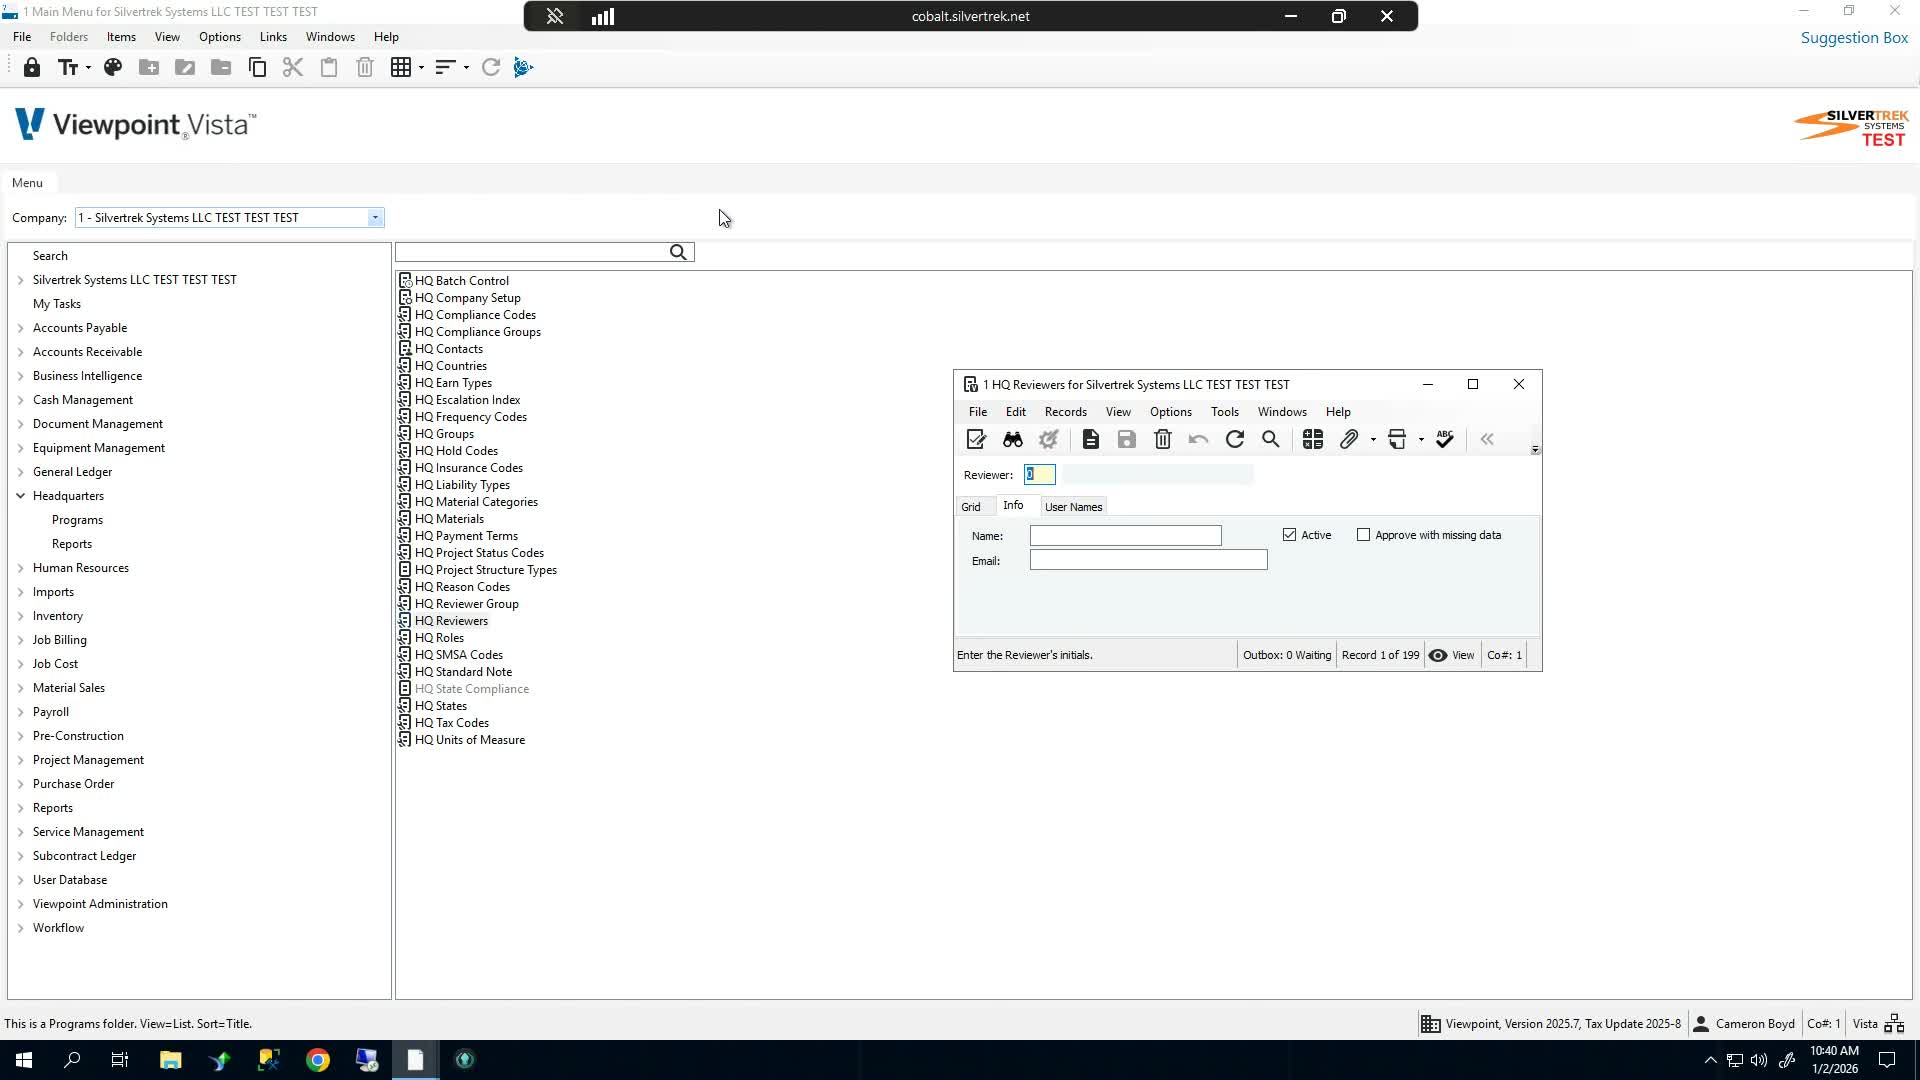
In the HQ Reviewers window, create a new reviewer.
Use a 3-character alphanumeric code for the reviewer ID.
Enter a clear reviewer name for identification.
Leave Active enabled.
Leave Approved with Missing Data unchecked unless your process requires it.
Enter the reviewer’s email address.
Click Save.
3. Assign users to the reviewer 0:58
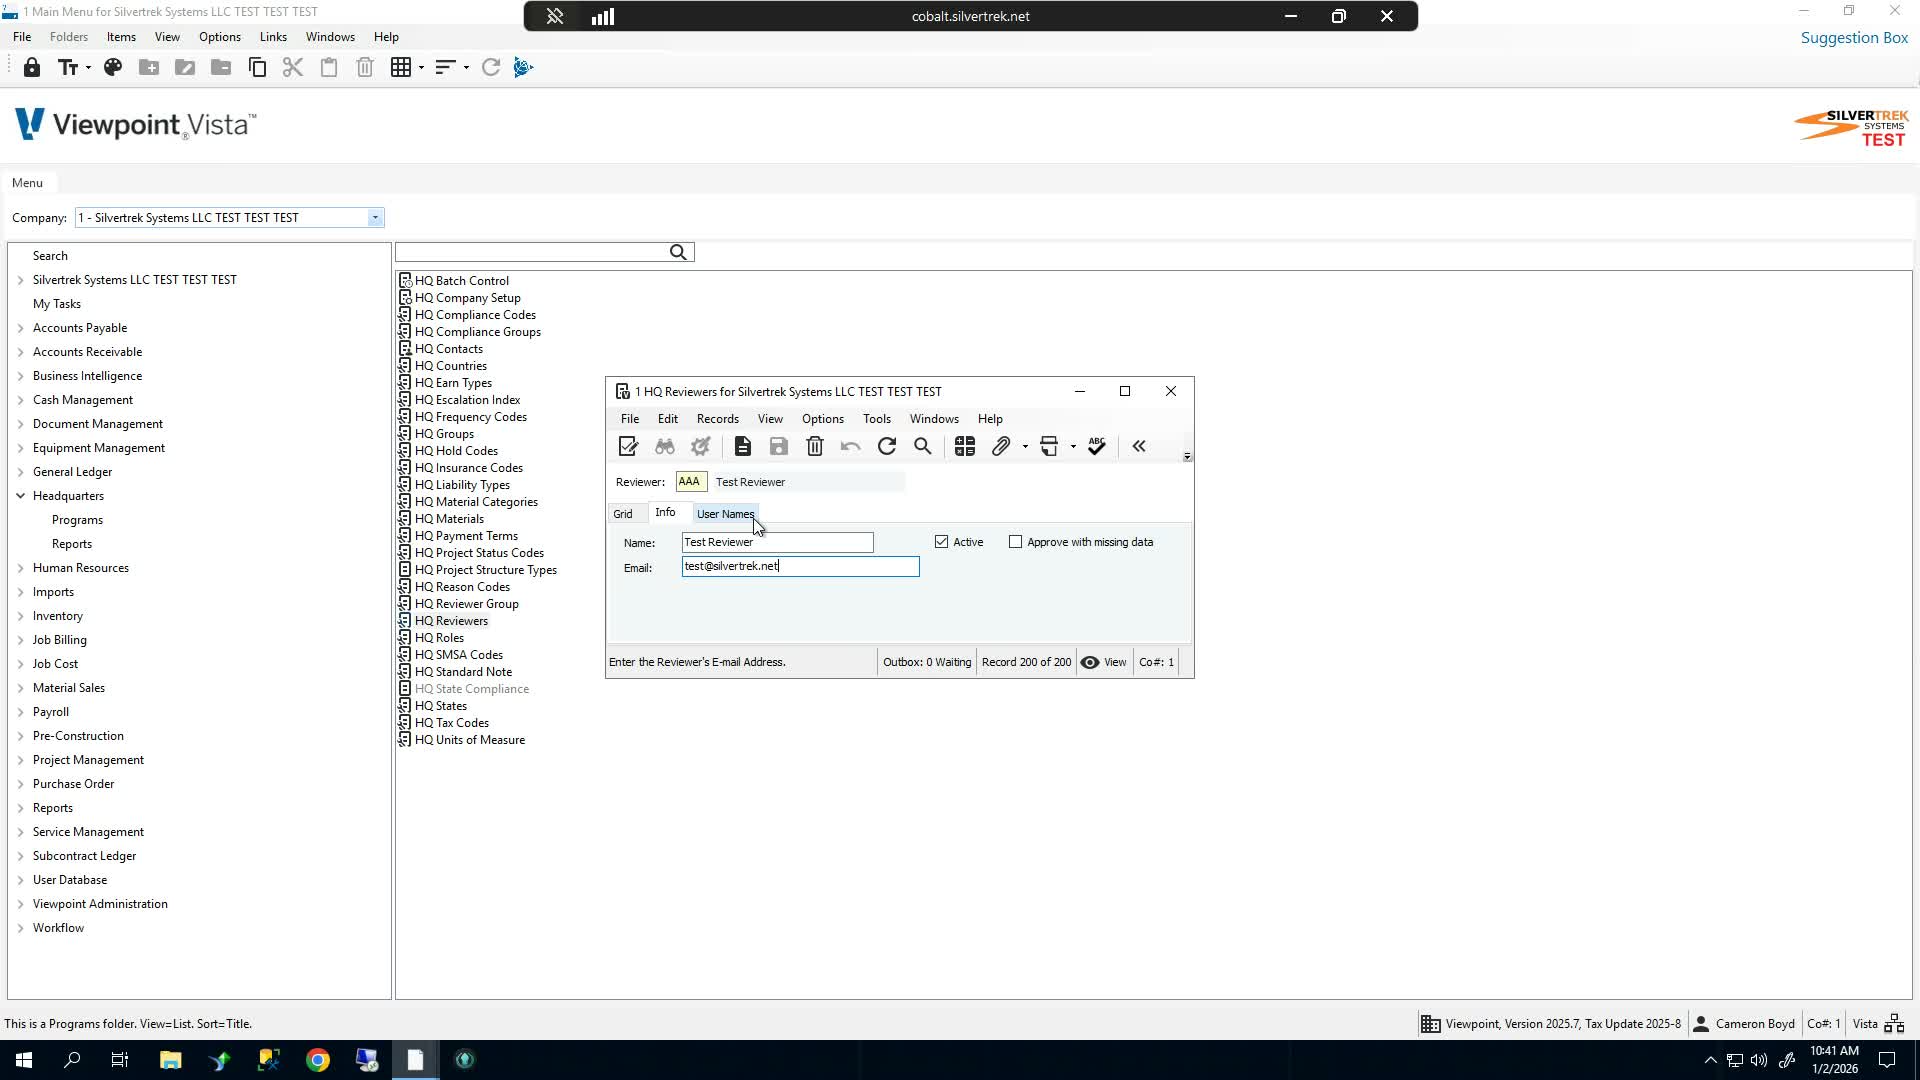
After saving the reviewer, assign one or more users to that reviewer.
Go to User Names within the reviewer setup.
Select the users who should belong to the reviewer.
Confirm that multiple users can be assigned to a single reviewer.
4. Open HQ Reviewer Groups to create an optional group 1:24
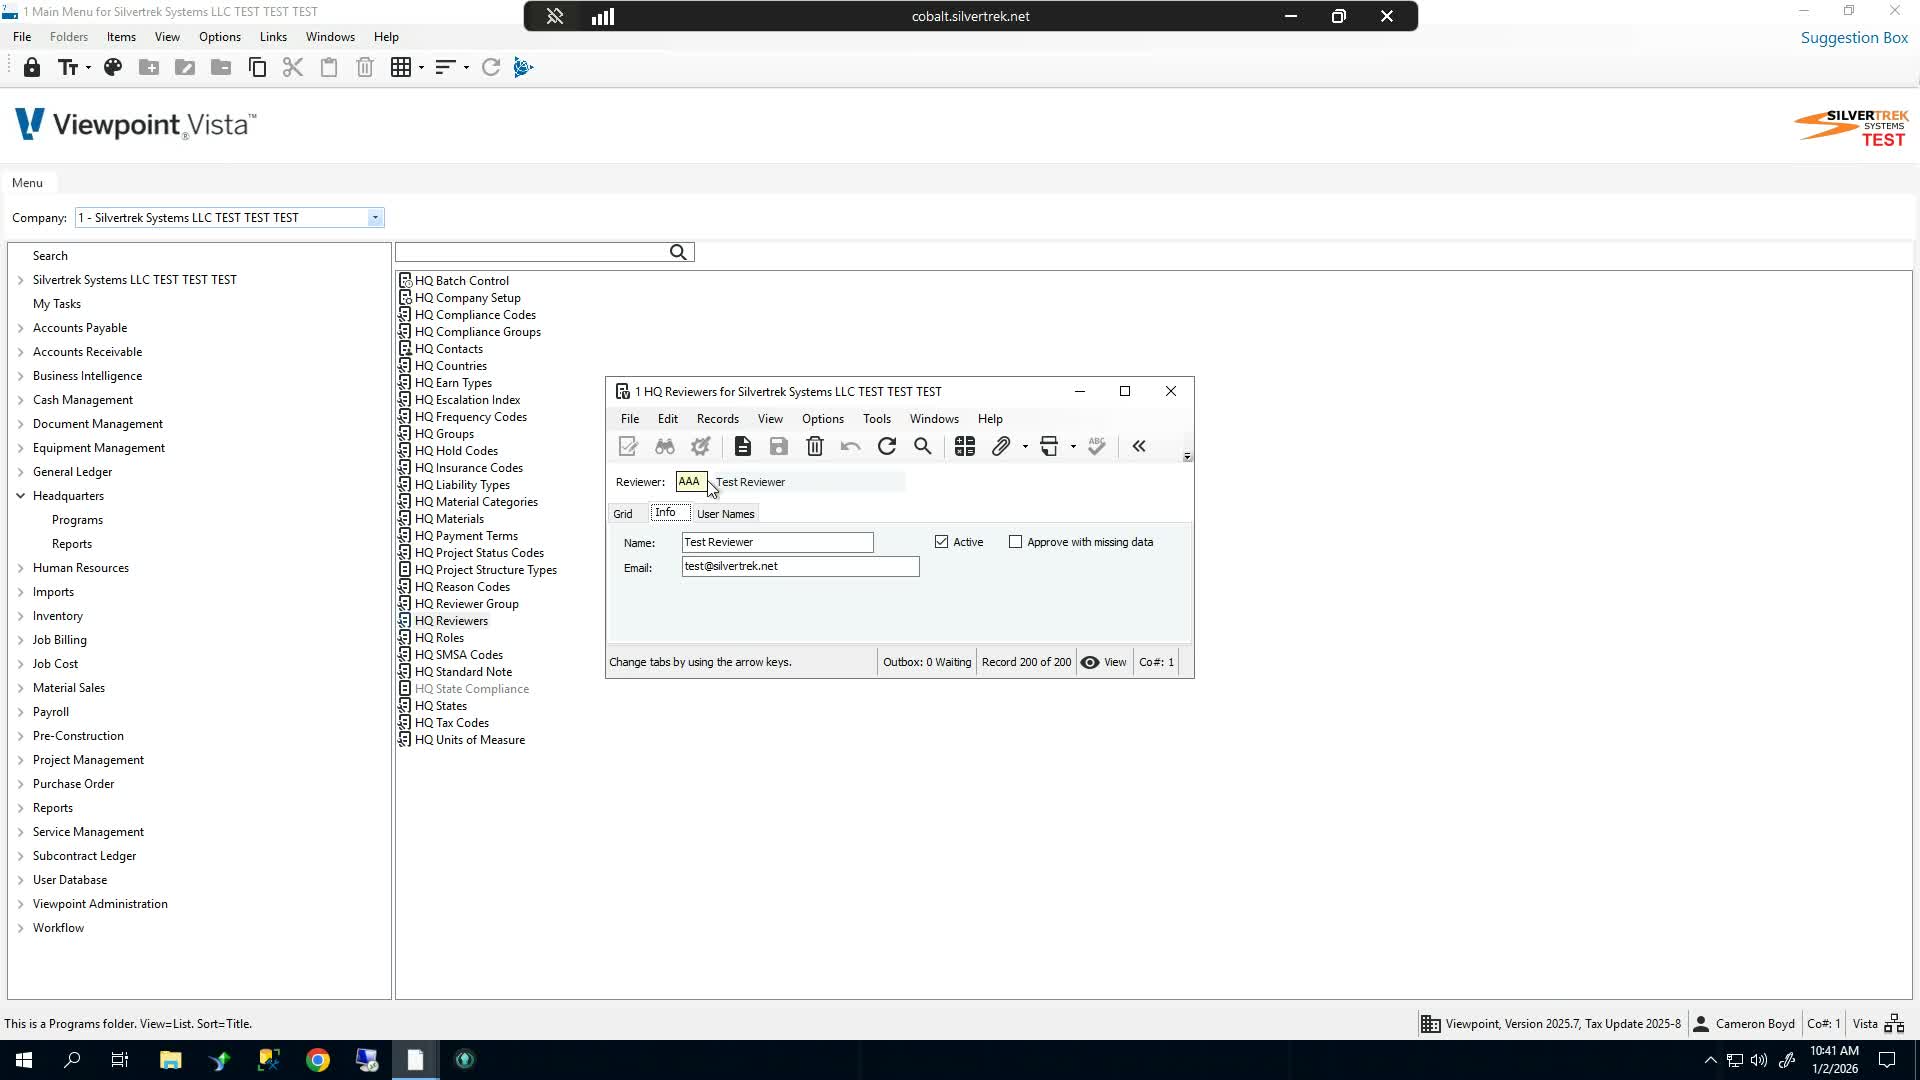
If needed, go to HQ Reviewer Groups.
Use this step when you want to organize reviewers into a group for approval routing.
Note: this step is optional and may not be required in most cases.
5. Create and configure the reviewer group 1:38
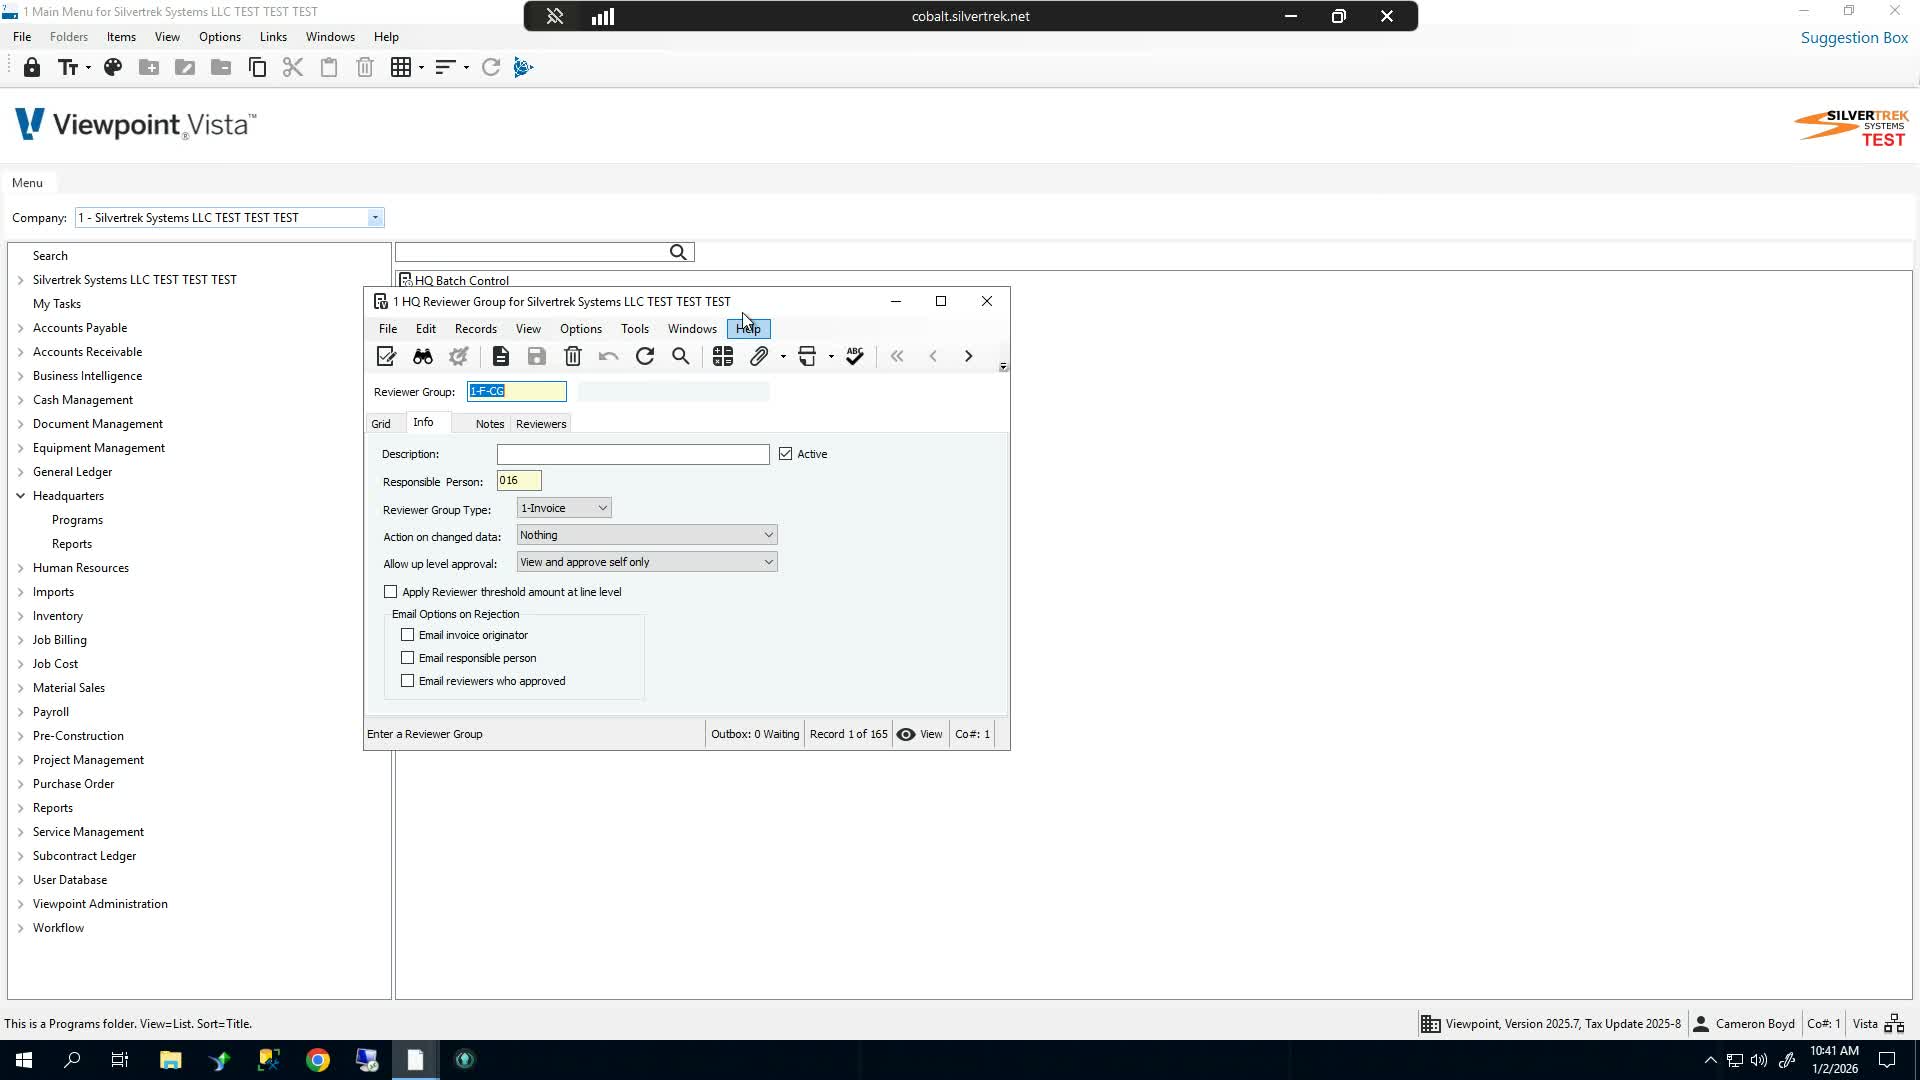
Create a new reviewer group using an alphanumeric group code.
Enter a group name.
Leave the group Active by default.
Assign a Responsible Person from the list.
Select the appropriate Reviewer Group Type:
Invoice
Timesheet
Job Billing
Set any available options as needed, such as approval behavior, threshold settings, or up-level approval.
Leave default settings unchanged if no special routing rules are required.
6. Add reviewers to the reviewer group 2:55
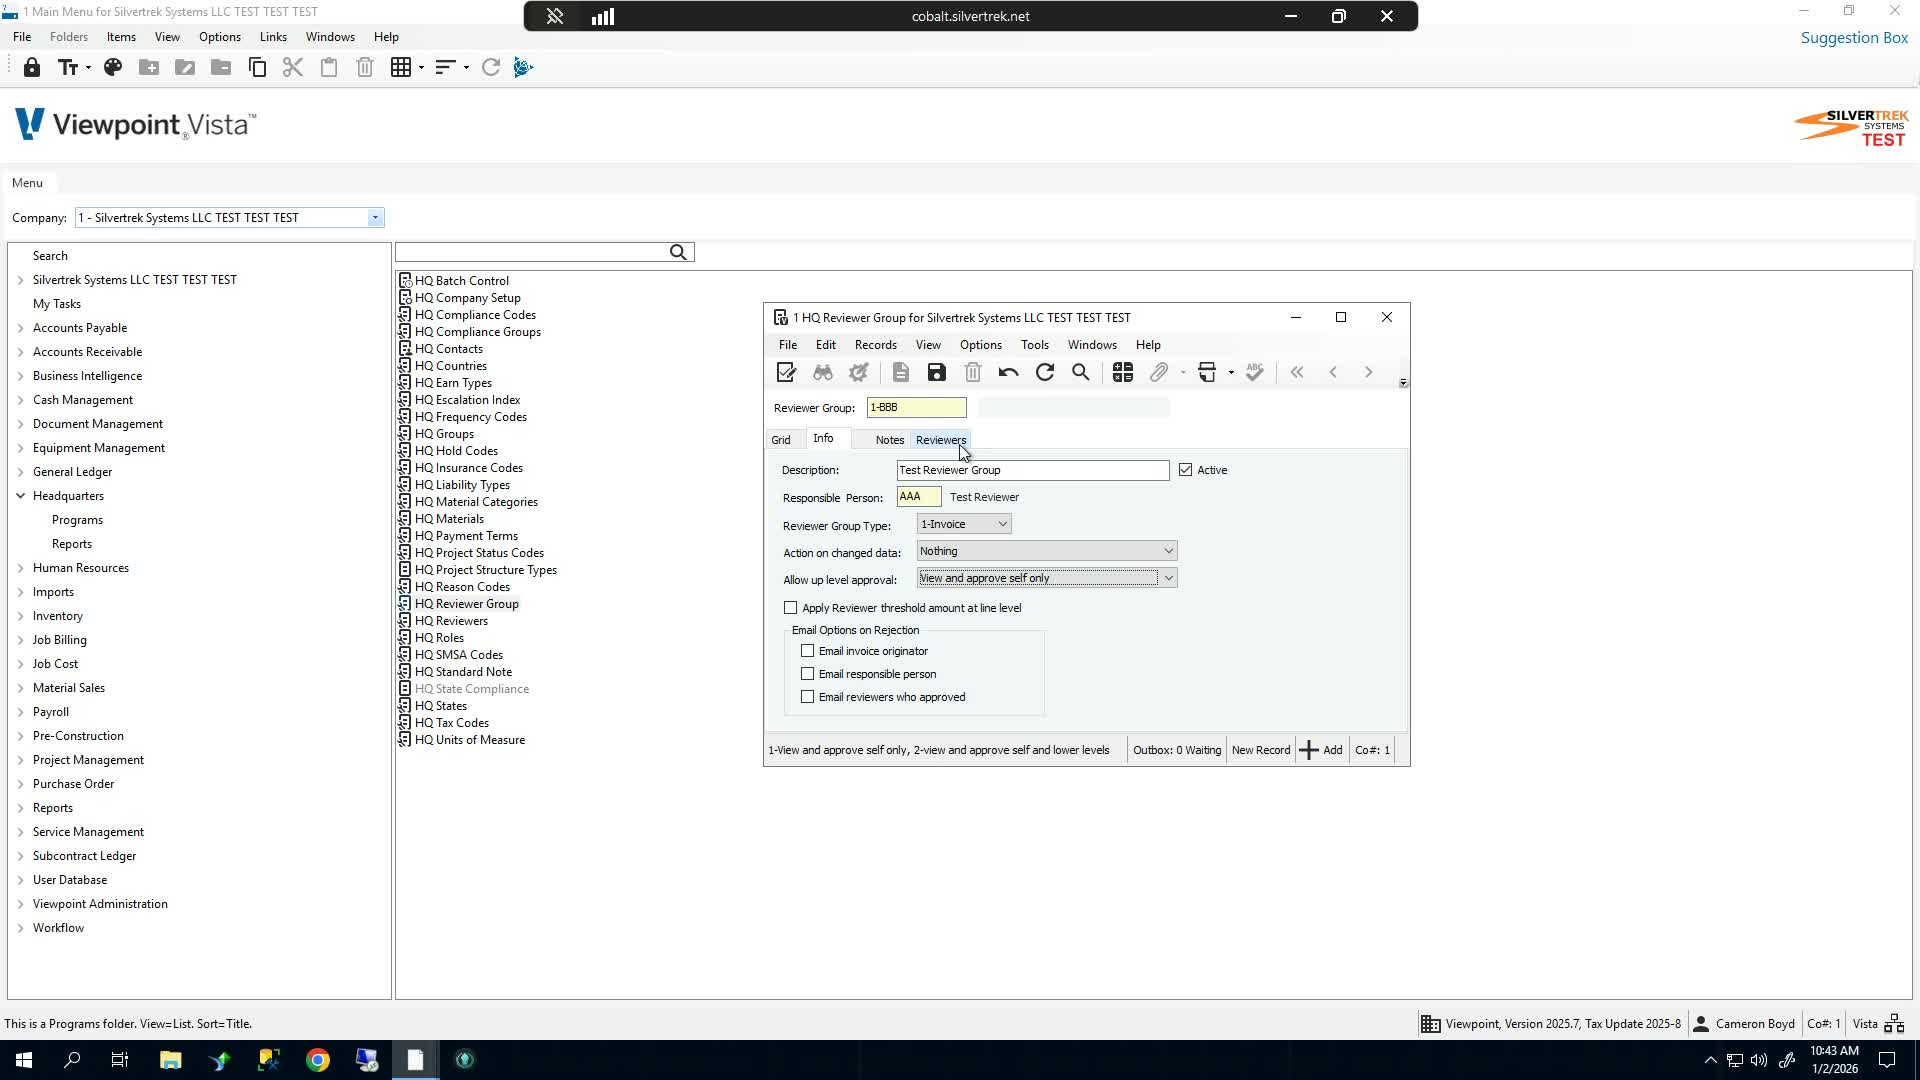
Open the Reviewers tab within the reviewer group.
Select the reviewer(s) to add to the group.
Save the group after adding reviewers.
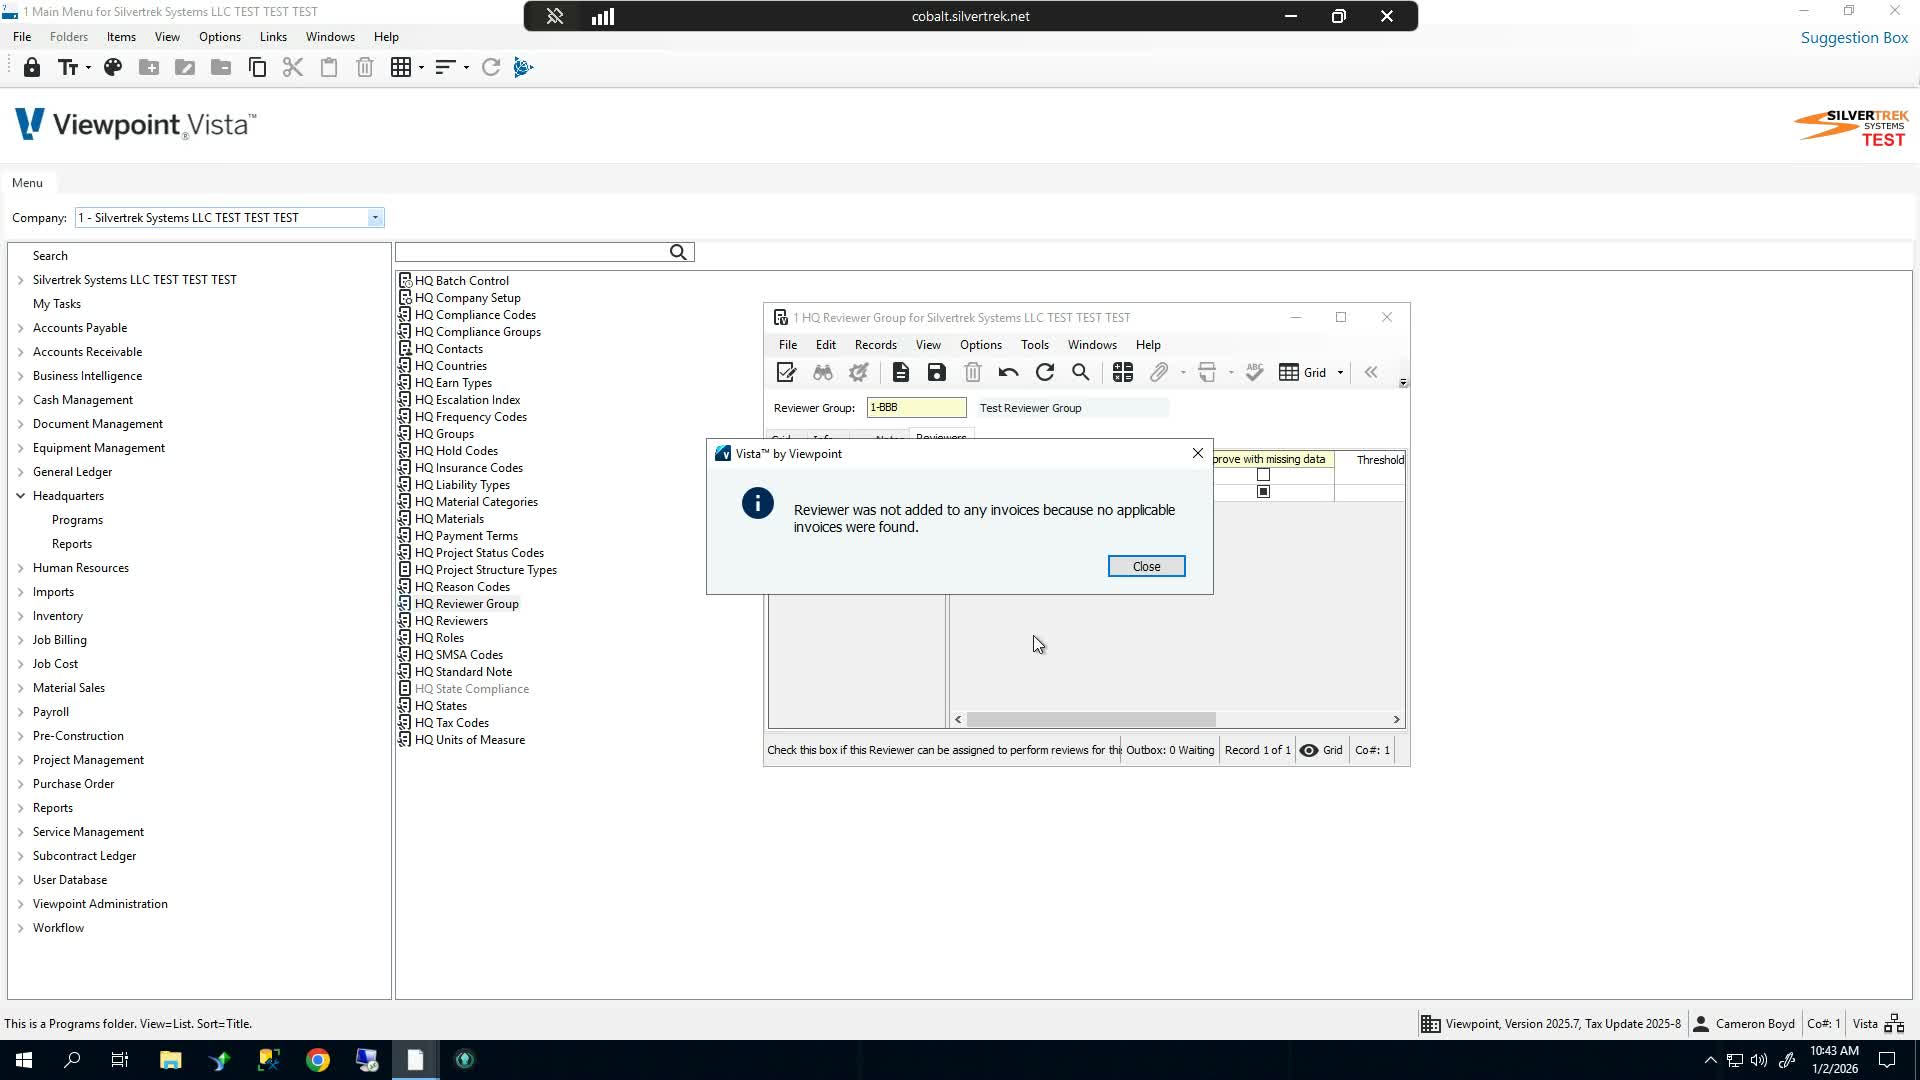
Choose whether to add reviewer to all un-posted invoices and whether the assignment should apply to all companies, based on your business rules.
7. Review group settings and approval sequence 3:16
Confirm the group is active.
Review the approval sequence for each reviewer in the group.
Check whether the reviewer is optional.
Verify whether the reviewer can approve with missing data.
Confirm any threshold amount settings are correct.
8. Add additional reviewers if needed 3:47
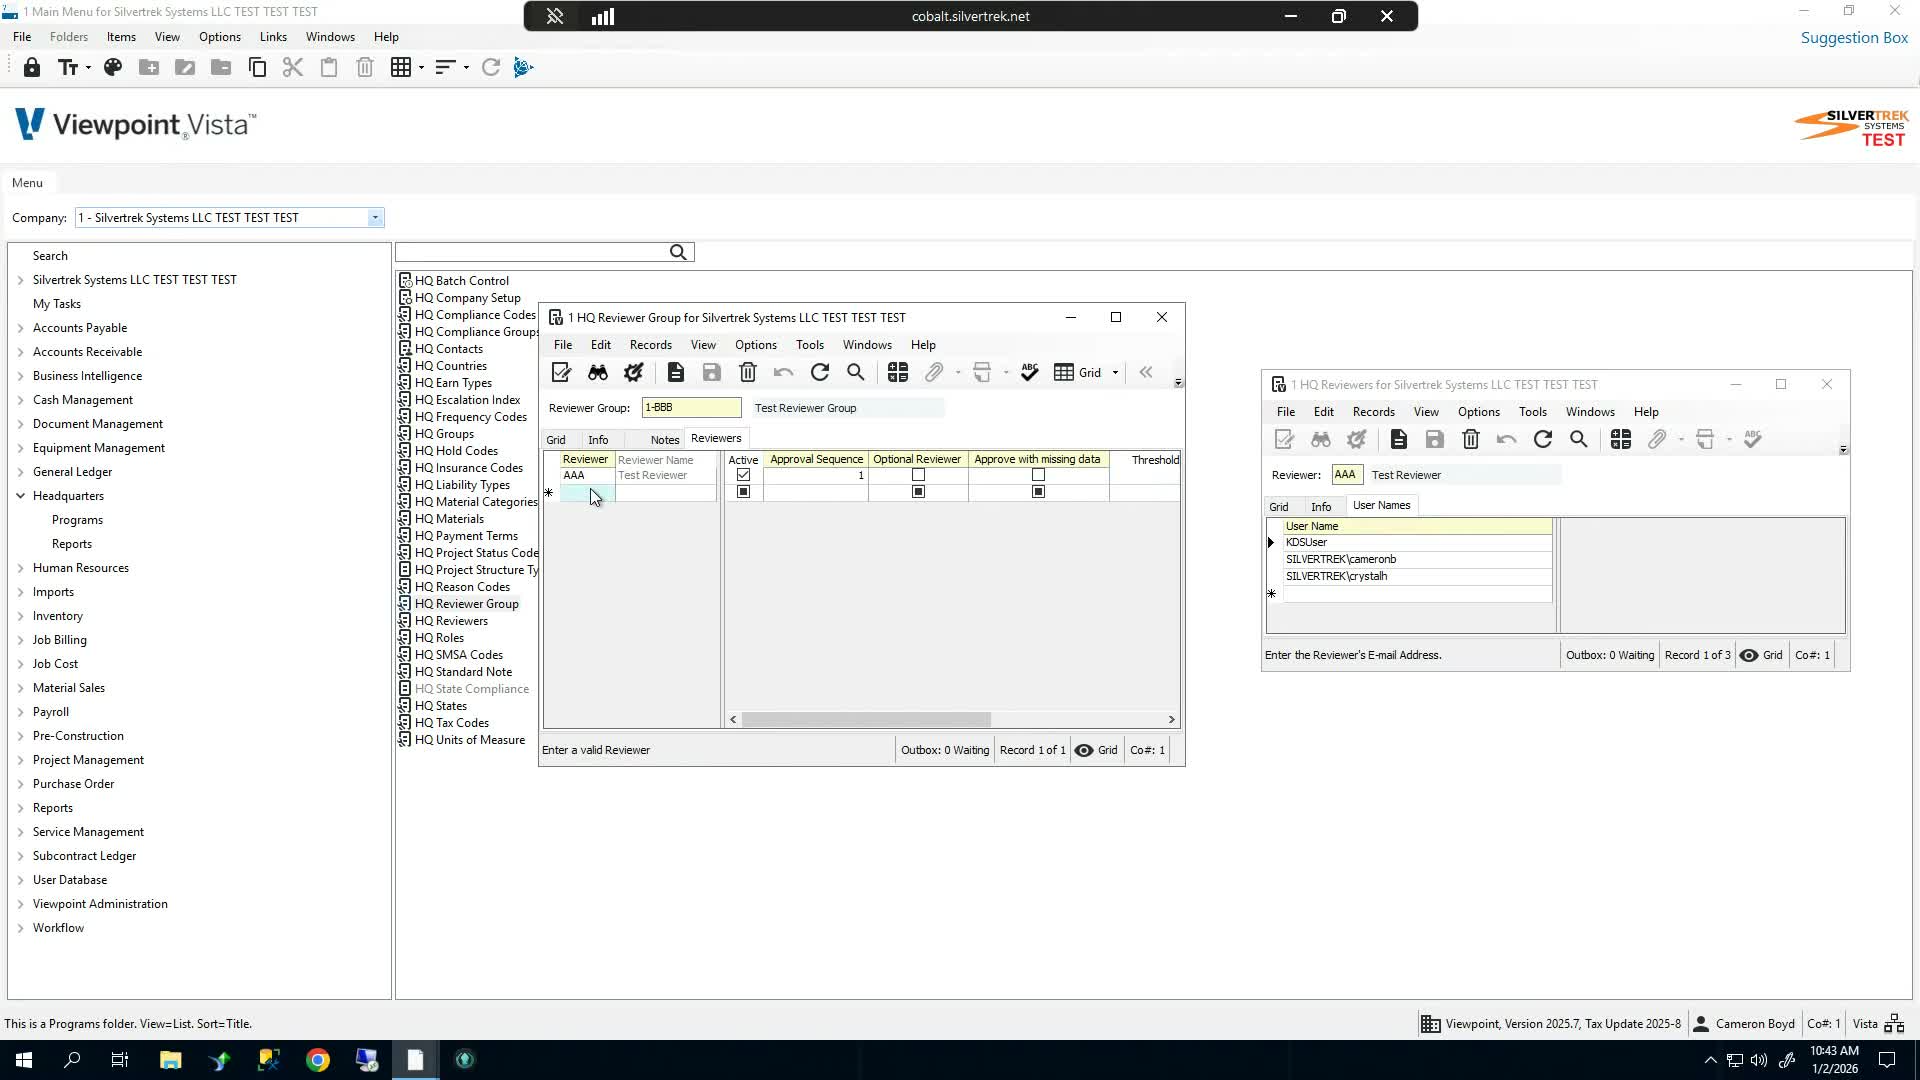
Add more reviewers to the same reviewer group if multiple approvers are needed.
Verify the approval sequence updates correctly for each added reviewer.
Use this structure when your workflow requires multiple reviewers within one group.
9. Understand the reviewer structure before finalizing 4:00
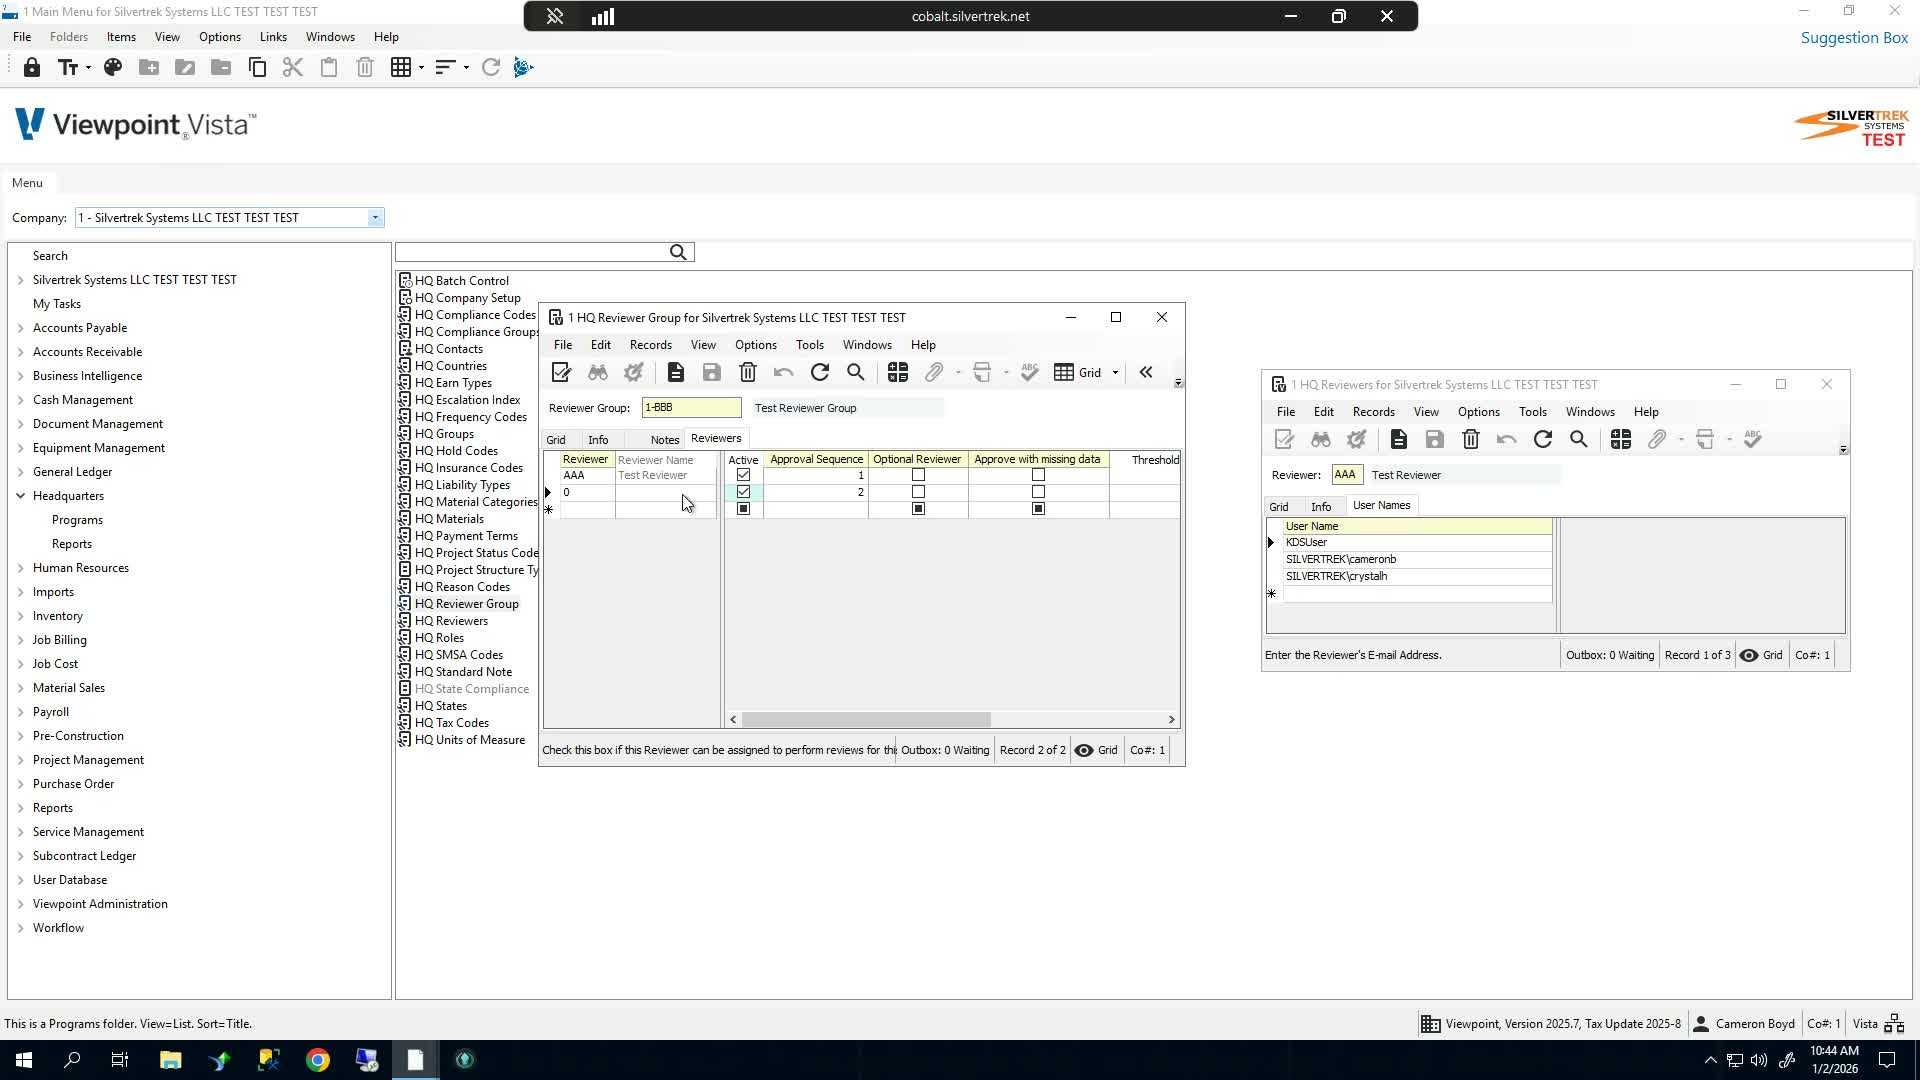
Remember that a reviewer can contain multiple users.
A reviewer group can contain multiple reviewers.
Use this hierarchy to match your approval process:
Users are assigned to a Reviewer
Reviewers are assigned to a Reviewer Group
Confirm the setup matches the intended approval workflow before closing the configuration.
Cautionary Notes
Reviewer IDs and group codes must be alphanumeric and follow the system’s character limits.
Do not enable Approved with Missing Data unless your approval policy allows it.
Make sure the Responsible Person is assigned for reviewer groups, or the group may not function as expected.
Verify the Reviewer Group Type carefully, since invoice, timesheet, and job billing groups serve different purposes.
Review the approval sequence and threshold settings before saving to avoid routing errors.
Tips for Efficiency
Use consistent naming conventions for reviewer IDs, reviewer names, and group names.
Assign users in batches when possible to reduce setup time.
Leave default settings unchanged unless your approval process requires customization.
Reuse existing reviewer groups when the same approval structure applies across multiple companies or invoice types.
Double-check the hierarchy: users → reviewer → reviewer group to prevent misconfiguration.
Link to Loom
Was this article helpful?
That’s Great!
Thank you for your feedback
Sorry! We couldn't be helpful
Thank you for your feedback
Feedback sent
We appreciate your effort and will try to fix the article