To ensure leave balances are correct at the start of a new payroll year, the year-end leave code reset must be run in the correct order and with the correct reset date. This ensures that any leave usage in the final payroll of the calendar year reduces the correct leave year.
The steps below are designed to keep December accruals and usage in December, and January accruals and usage in January.
This guide explains how to perform a Year-End Reset, including resetting employee leave accruals to zero, reducing available balances to the carryover limit, and ensuring beginning balances are correct for the new year. It also explains how to select the correct reset date so usage on or before that date is processed properly.
These instructions apply to Vista versions 2021 R1 and later. In earlier versions, PR Auto Leave Accrual/Usage and PR Leave Reset are located in separate forms outside of PR Leave Entry, though the process is otherwise the same.
Example:
The VAC leave code resets annually on 12/31/XX. New-year accruals and usage begin on 1/1/XX. Employees accrue 80 hours per year with a 40-hour carryover limit. The pay period end date in this example is 1/5/XX.
Leave Code Reset Rules
The Reset Date must be later than the Last Reset Date in PR Employee Leave.
All leave usage and accrual dated on or before the Reset Date must be posted before running the reset.
No leave usage or accrual can exist after the Reset Date at the time of the reset. If entries already exist:
Delete them from PR Leave Entry, or
Choose a later Reset Date if they cannot be removed.
Processing Steps
Open PR Leave Entry and create a batch for 12/XX.
Go to File → Leave Accrual/Usage Init to calculate usage and accrual for the pay period.
Do not post the batch after processing.
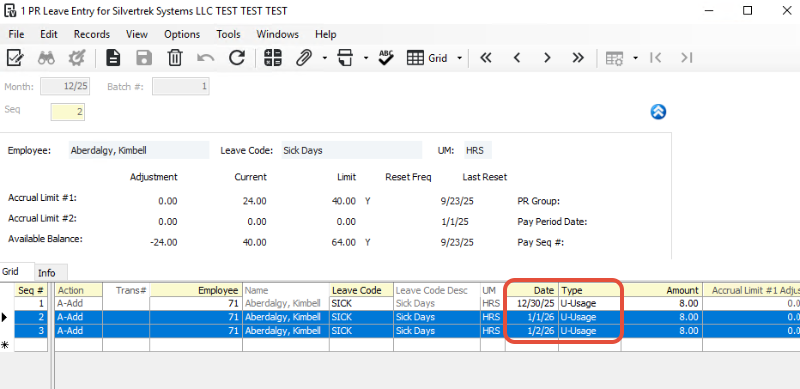
In PR Leave Entry, delete any usage or accrual dated after the Reset Date (for example, 1/1/XX–1/5/XX) by selecting the records and clicking the Trash Can icon.
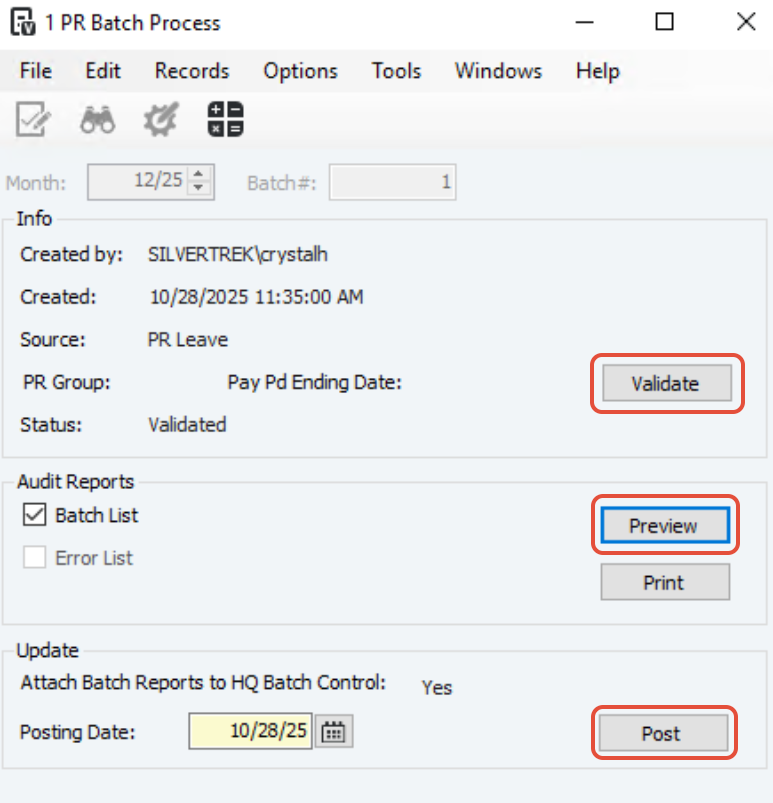
5. Select File → Process → Validate, then Post the batch.
6. Reopen PR Leave Entry with a Batch Month of 1/XX, then go to File → Leave Code Reset.
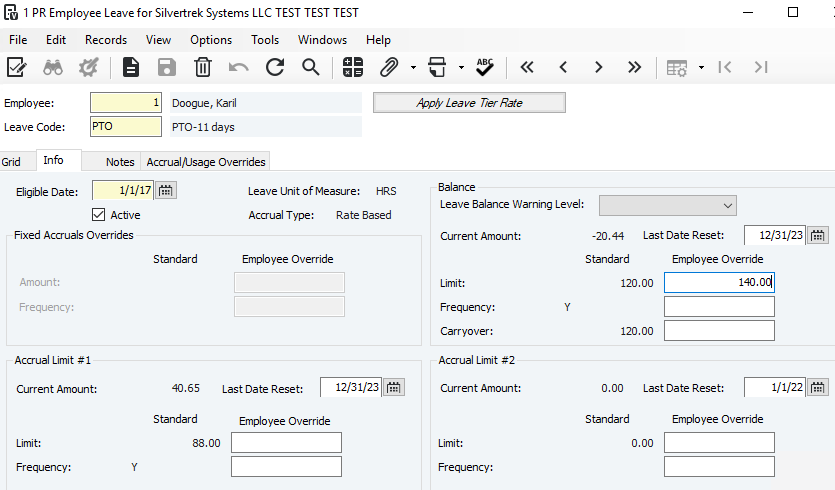
7. Check:
Reset Accrual Amounts to 0.00
Reduce Available Balances to Carryover Limit
(This box should almost always be checked.)
Do not check “Delete” unless you intentionally need to remove a prior reset. Deleting a reset removes reset dates from PR Employee Leave and requires reentry, which can be difficult to clean up.
8. Enter the Reset Date (must be later than the last reset date in PR Employee Leave).
Example: 12/31/XX. Leave history on or before this date applies to the prior leave year.
9. Select a Leave Code or choose All. Inactive leave codes are automatically skipped.
10. Select a Frequency or choose All.
11. Click Update.

12. Close the reset and return to PR Leave Entry to Process, Validate, and Post the batch.
You can now run new-year accruals before processing any vacation usage taken in the new year.
13. If you use a Fixed Accrual leave code, this is the time to populate the new year’s accrual.
15. Open the Accrual/Usage form with a batch month of 1/XX.
16. Process usage and non-fixed accruals for the pay period, but do not post the batch yet.
17. If you receive a warning about posting for a prior month, select Yes and continue.
18. Close the Accrual/Usage form and review the batch in PR Leave Entry.
19. Delete any usage or accrual dated on or before the Reset Date (12/31/XX in this example) using the Trash Can icon.

20. Process, validate, and post the batch.
Review the Employee Leave History Detail Report to verify that accruals, usage, and reset dates are accurate.
Was this article helpful?
That’s Great!
Thank you for your feedback
Sorry! We couldn't be helpful
Thank you for your feedback
Feedback sent
We appreciate your effort and will try to fix the article