1. Go to Accounts Payable>Programs>AP Automatic Invoice Entry
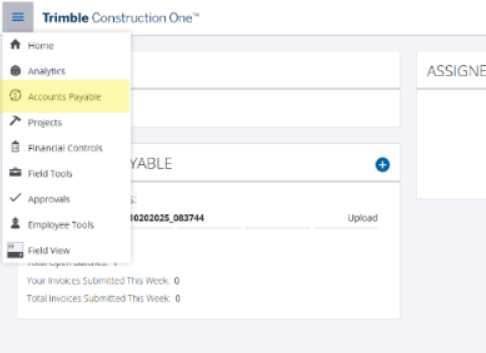
OR log into team.viewpoint.com, click on the hamburger menu in the top left and click on Accounts Payable
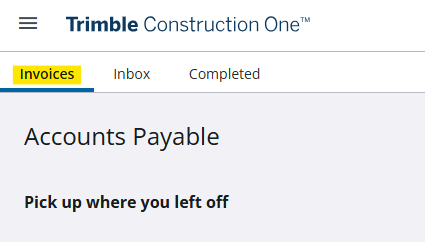
2. Click on the invoices tab
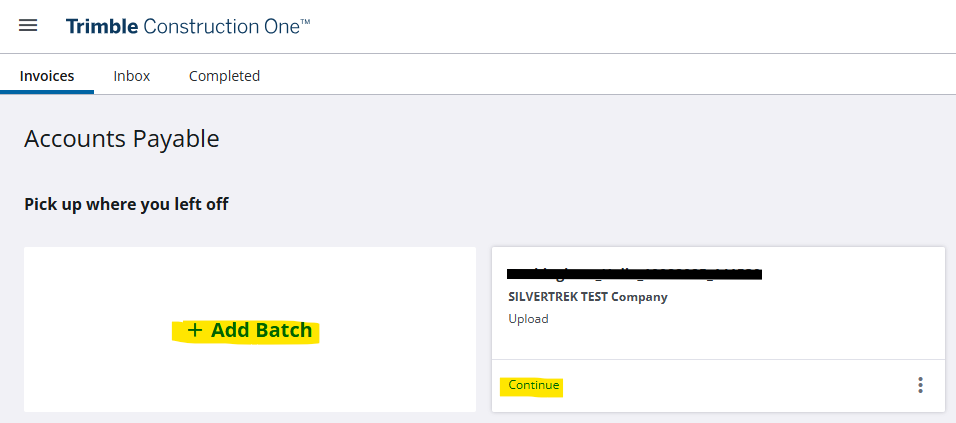
3- Create a new batch, press + Add Batch or press Continue if there are any unprocessed batches.
4. Click + Add Attachment to attach PDFs - or drag and drop downloaded PDFs onto the website page.
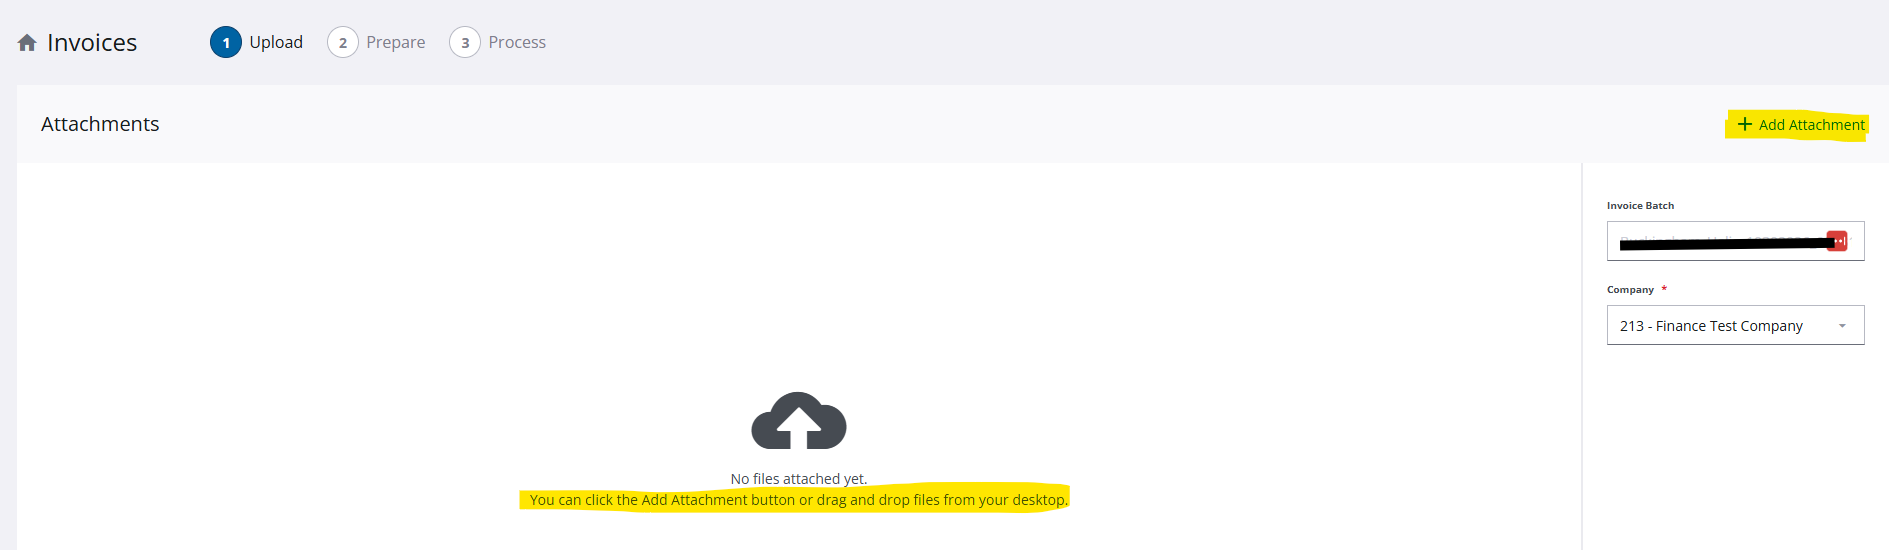
5. Select your Company from the drop down and Click Next.

6. Confirm the correct invoice has been uploaded.

7. If the file has two separate invoices on it - click page break between the two invoices.

8. Click Next

9. Review "Invoice Details" and ensure that they are all correct and matching the invoice - if any are incorrect, click in the box and type the correct information.

***Automatic Invoicing only recognizes and automatically fills in vendors with a "Last Invoice Date" within the last 12 months. If the Vendor field does not populate automatically, you can manually search for and select the correct vendor. Once that vendor has been used, Automatic Invoicing will recognize it on future invoices and automatically populate the field.
10. Click Send to Vista

In Vista:
11. Click Accounts Payable > Programs

12. Click AP Unapproved Invoice Entry

13. Open the existing batch and then click on the "Grid" tab and find the invoices.

15. Add any other information needed and save.
Was this article helpful?
That’s Great!
Thank you for your feedback
Sorry! We couldn't be helpful
Thank you for your feedback
Feedback sent
We appreciate your effort and will try to fix the article